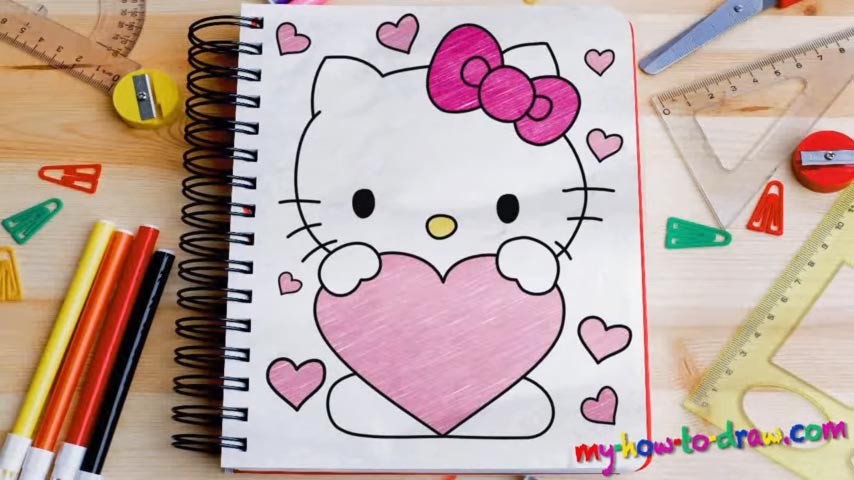
Learn How to draw Hello Kitty With Love Heart Quickly & Easily!
These creatures can put a smile on your face even if you’re not really in the mood for it. Tiny, fragile, and all kinds of cute, the kittens make the world a better place. Our how to draw Hello Kitty With Love Heart tutorial starts with the light strokes. Use them to create some basic lines (00 min 23 sec). That huge circle in the middle is for the head.
The smaller ones represent the heart; the oval shape at the bottom is for the legs. By drawing these shapes, you make your own job a lot easier. After you add the triangles on top of the head (the ears) and divide the original circle into four separate parts, the rough sketch will be done (00 min 44 sec). Ok, use dark strokes from now on.
Next, use the horizontal line you just drew and place the nose right in the middle of it (00 min 54 sec). Same goes for the eyes, but they should sit a bit higher than the nose. That’s actually it for the facial features. The next stage in this how to draw Hello Kitty With Love Heart tutorial are the tiny hands and the heart they’re holding (01 min 11 sec). Use the light strokes as your guides and create a nice and smooth heart.
That oval shape in the bottom stays the same: just go over it with dark strokes. That hair bow looks great, but it’s also easy to draw. You’ll need three circles and two identical curvy shapes like you see in the video (02 min 07 sec). After the ears are in, add the whiskers and that’s it (02 min 17 sec). Wait, don’t forget about the little hearts!
Before you learn how to draw Hello Kitty With Love Heart, did you know?
Doesn’t that drawing just look incredibly cute? Kittens are the biggest celebrities of our time, thanks to social media. And in this particular case, the kitty is holding a heart in its hands. This adorable composition is very easy to make and will be a great gift for your loved ones.