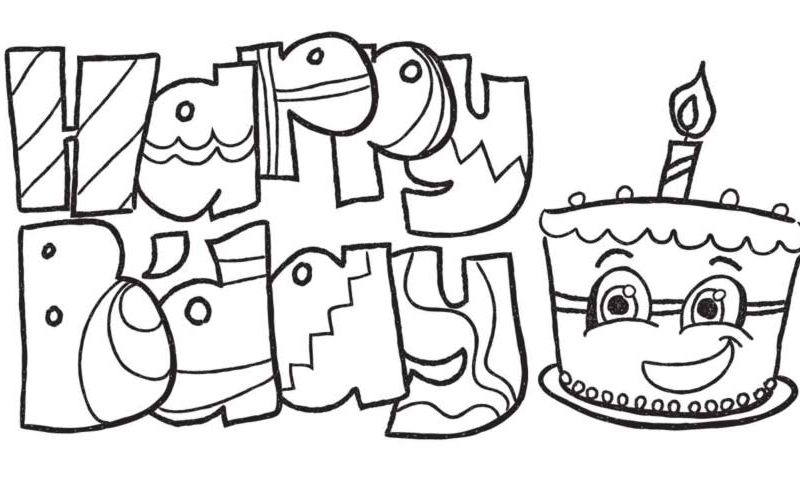
Learn How to draw ‘Happy Birthday’ – Fun Lettering Quickly & Easily!
We recommend starting with the “H” letter and going all the way up (or, rather, right) from there (00 min 12 sec). As you can see from the video, it’s a capital “H”, but not a conventional one. It looks a lot like it came from a comic book, and that’s exactly what we’re looking for in this how to draw ‘Happy Birthday’ – Fun Lettering tutorial.
If you’re good with the A, the next couple of P letters will be a piece of cake for you (01 min 24 sec). They look a lot like the second letter and are almost identical to each other (it’s just that the second one is positioned a bit lower than the first one (01 min 48 sec). The “Y” might look like a big deal at first, but it actually isn’t (02 min 19 sec). All you’ll have to do is connect a bunch of curvy lines with each other.
Once you’re happy with that, move on to the next part of our how to draw ‘Happy Birthday’ – Fun Lettering guide (03 min 00 sec). The “B” is the simplest part. As for the “D” and the “A”, they look exactly the same as the “A” and the “P” we just drew. Same goes for the “Y” (04 min 50 sec). After you’re done with the letter’s, move on to the actual cake (05 min 30 sec).
Start with the top. Next, take care of the eyes (05 min 44 sec). You don’t have to make them identical – introduce some slight differences to make them seem more realistic. The mouth is just a combo of three simple curves (07 min 23 sec). The next step after creating the plate will be the candle on the cake’s “head” (08 min 06 sec). Don’t forget to light it up!
Got a solid cake in your hands? Good, proceed to the final step of the how to draw ‘Happy Birthday’ – Fun Lettering tutorial (09 min 12 sec). Put some additional strokes on every single letter like you see in the video. This isn’t necessary, but will, most certainly, make things better.
Before you learn how to draw ‘Happy Birthday’ – Fun Lettering, did you know?
Buying a birthday card is just plain boring! Why buy a card for someone special when you can make an awesome birthday card all by yourself? Get a nice piece of cardboard, get your drawing equipment out with plenty of colors and make him or her smile with a great personal gift.
Go ahead and learn how to draw ‘Happy Birthday’ cards for yourself by following the simple steps in this video. Believe us, there’s nothing like the feeling of being able to create something truly exciting and hand-made.
