Learn How to draw Hands Quickly & Easily!
Most folks who are only starting to draw are kinda afraid of the hands. The truth is – they’re pretty hard to get right. Thankfully, after this how to draw hands tutorial, you’ll master them fully. As always, nothing’s as hard as you think it is. This simple-yet-comprehensive guide will teach you all the basics.
After this, you won’t be hiding the hands of your characters behind their backs or inside their pockets. Now, obviously, this isn’t a 100% anatomically-correct tutorial and is best-suited for the novices. Treat this as a quick-fix of some sorts. Ok, so, the human hands can be divided into 3 parts: the palm at the core, the four straight fingers, and the thumb (00 min 31 sec).
Before you get to the meat and potatoes of this how to draw hands tutorial, create an oval shape in the middle of the paper (00 min 37 sec). Next, create a horizontal curvy line to divide it in two. That short line on the lower half represents the thumb (00 min 41 sec). Once you’re done with that, divide the upper half into 5 separate parts with 4 straight lines.
Now you have something of a skeleton, a rough sketch that you can go over and shape your ideal hand (00 min 48 sec). If a spread-out hand is what you’re looking for, do the same, but the top should be wider this time. Use basic shapes and bend them to serve as guides for different hand positions (01 min 10 sec). That’s the core of this how to draw hands tutorial.
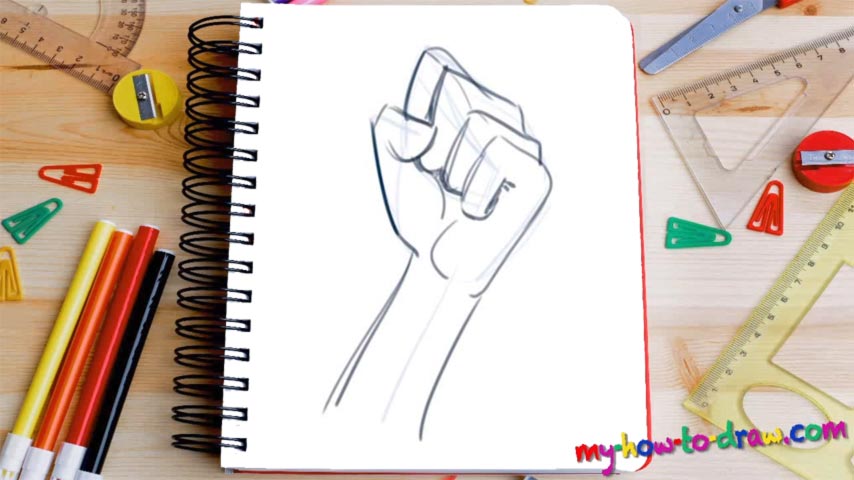
For closed fist gestures, we recommend going with circles and/or squares (01 min 13 sec). It’s very important to match the style with the rest of the drawing (01 min 26 sec). You can’t have manga hands on a super-realistic character!
Before you learn how to draw Hands, did you know?
One final tip: if you’re having difficulties with this, look at your own hands for guidance! Or, ask your friends to help you out. Generally, hands spread out approximately the same size as the face – use that knowledge in your drawings.