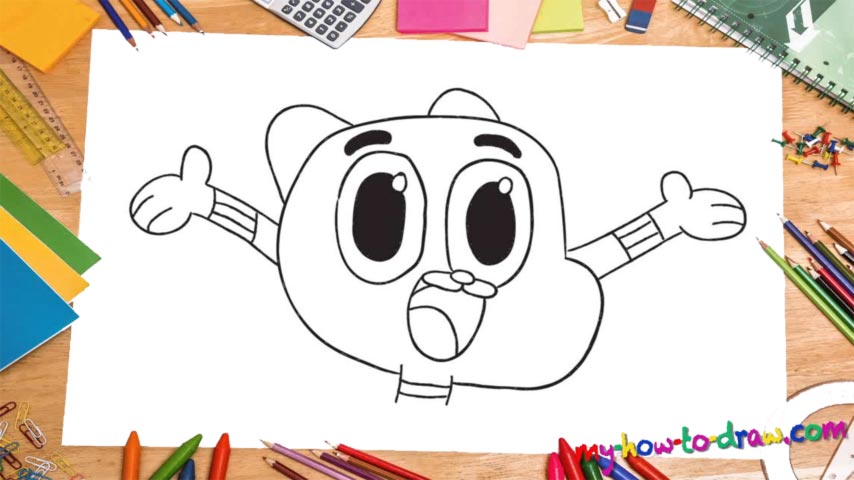
Learn How to Draw Gumball Watterson Quickly & Easily!
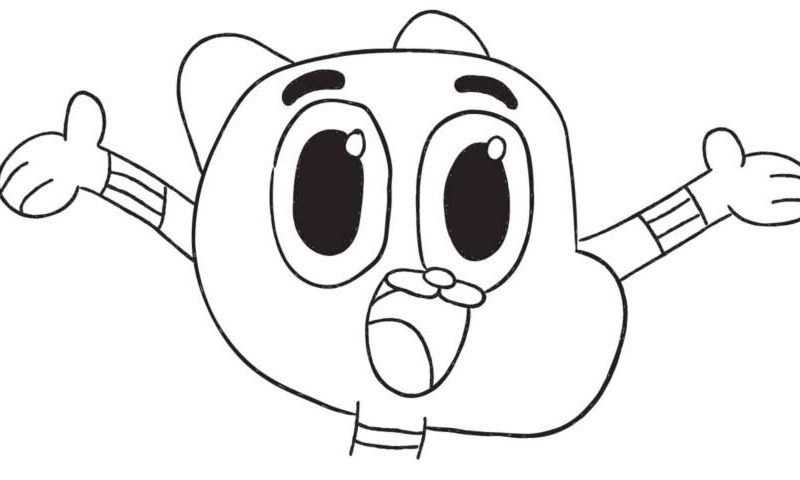
Ok, let’s begin with this fine fella’s nose (00 min 17 sec). It’s pretty easy to draw and gradually move on to the mouth. Once you’re done with both, take care of the left eye of Mr. Gumball Watterson (it’s the right one from our perspective (01 min 04 sec). Create a big oval shape a bit off the center with a tiny circle at the very top and a pretty big one in the middle.
That’s the first part of our how to draw Gumball Watterson tutorial. The right eye comes next (01 min 28 sec). Color both eyes black (the circles inside the circles). The eyebrows are one of the easiest parts (02 min 02 sec). They’re just a combination of two curves on top of each other. Go ahead and paint them black as well.
Once you’re happy with all of that, move on to the head (02 min 40 sec). Essentially, it’s just a series of a couple of lines (two, to be exact). Still, it’s an essential part of this how to draw Gumball Watterson guide. Put his ears in next (3 min 12 sec).
Yes, we do know that his hands are way too small, but that adds extra cuteness to this awesome character (03 min 28 sec). Carefully follow the instructions in the video and you’ll get it right. That’s pretty much it! As you can see, it’s not that hard to draw Gumball, even though he does look amazing.
Before you learn how to draw Gumball Watterson, did you know?
Gumball (AKA Zach, by the way) Watterson is the main character of a world-famous show for the kids and the grown-ups. This is a teenage cat (twelve years of age), an overzealous and joyful boy who doesn’t really like to go to school. The lad has a ten-year-old adopted bruv and a BFF – Darwin.
Even though he’s pretty young, Gumball has a girlfriend and they’re dating. Now you can go ahead and learn how to draw Gumball Watterson for yourself by following the simple steps in this video. You’ll have tons of fun – guaranteed!