Learn How to draw Grass Quickly & Easily!
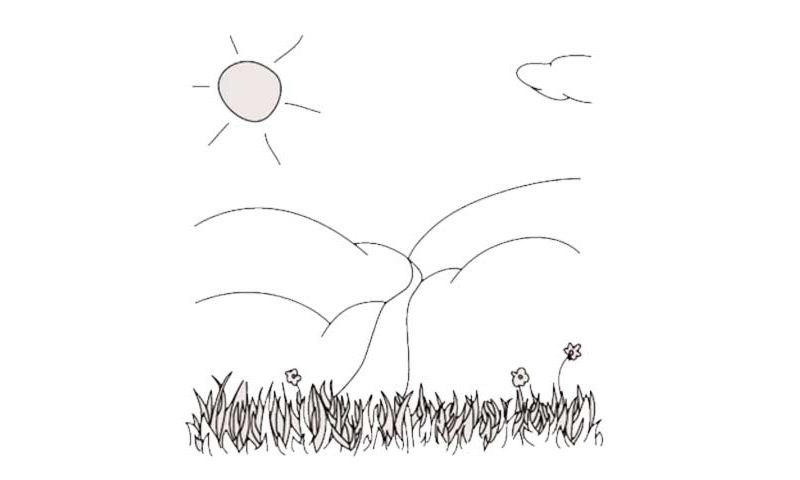
When it comes to grass, we usually remember our childhood years when we used to run through fields full of breathtaking flowers. In this how to draw Grass tutorial, we’ll use our skills to put quite a beautiful landscape on a piece of paper. We’re gonna use the good-old technique of layering (00 min 05 sec). It involves creating several layers of pretty much the same thing to make for a dense, realistic image.
The first “level” is very simple and scarce. The second one comes with much taller grass, but it still doesn’t look like the real thing. Thankfully, after you add the third and the fourth layers, you’ll get a thick, bright field full of grass (00 min 15 sec). Basically, you’ll need stems of different sizes and proportions all over the place. Follow the video guide if you need, but it’s safe to say that this how to draw Grass tutorial is more intuitive than straightforward.
After you put in those enchanting flowers (you’ve got three in total), everything will start to look even better (00 min 27 sec) The road and the mountains come next (00 min 40 sec). Finally, draw simple images of the sun on the left and a lonely cloud on the right (00 min 55 sec). Ok, that’s it for today’s lesson!
Before you learn how to draw Grass, did you know?
What can we say about grass? Unless you’re a biologist or a big fan of nature, you probably don’t even pay attention to it. However, it’s home to numerous insects and tiny animals. And without them, Earth and we – the human beings – will face terrifying consequences.
The g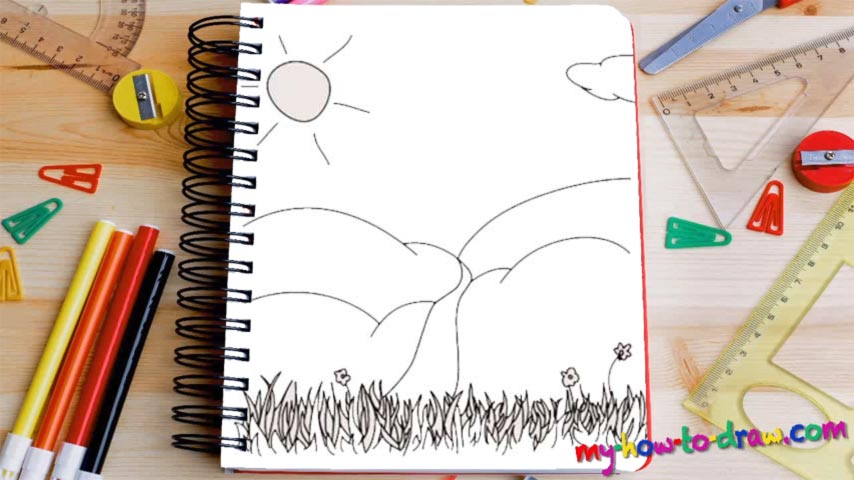 rass is among the first things that we start to draw as little kids. It’s very easy and will look great even if this is your first time holding a pencil or a marker in your hand. It comes in different shapes and sizes and is capable of bringing you back to life with one glimpse.