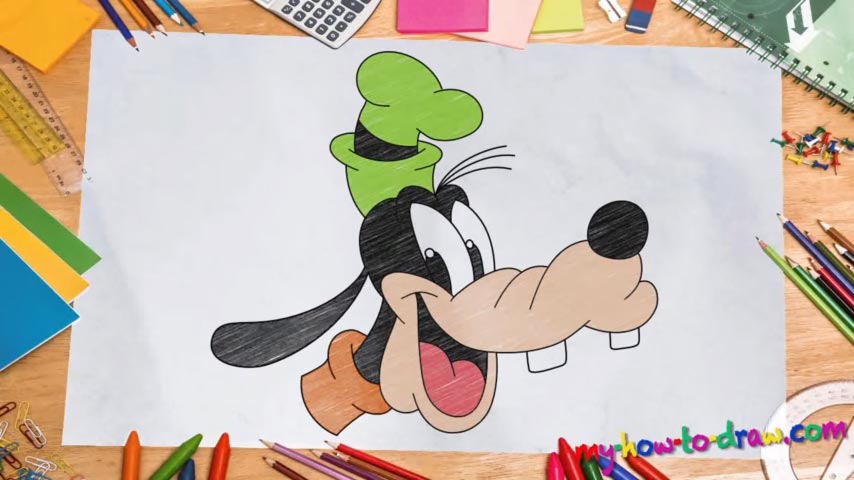
Learn How to draw Goofy Quickly & Easily!
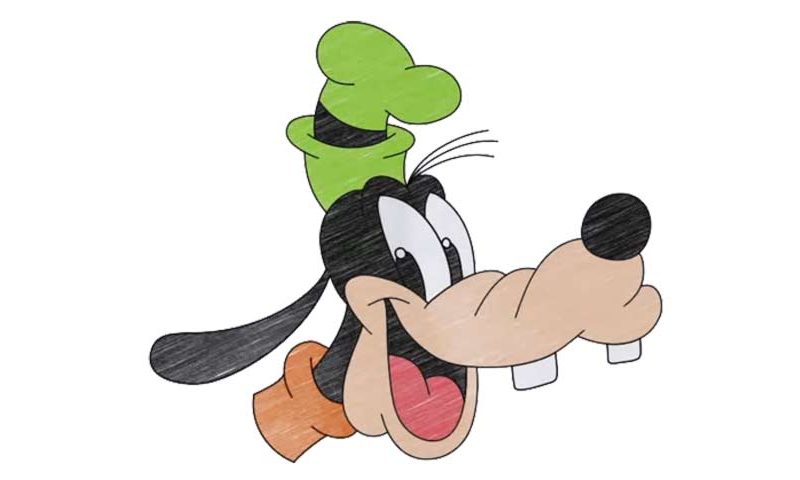
Most of the time, regardless of the final drawing, we use basic lines, curves, and shapes to mark various spots that will help us later with the proportions and the position of the numerous elements. That’s why the rough sketch is an important part of this how to draw Goofy tutorial. That oval in the middle is the doggy’s head (00 min 39 sec).
The curvy line pointing downwards is the mouth (01 min 06 sec). The front of the head (the jaw) and the fancy green hat come next. The final part of the sketch is the ear and the neck. If everything looks solid and you have an image of the final thing in your head, switch the light strokes with dark ones and move on to the main stage of this how to draw Goofy tutorial (02 min 16 sec).
The eyes should be big and almost reach the top of the dog’s head. They are the same, except that thanks to the angle, the right one looks a bit bigger. After you put the eyebrows in, draw the super long and thin ear (03 min 31 sec). The “mug” of our hero is adorable and pretty easy to create. Use the circle we made with light strokes as the nose and connect it to the rest of the head (03 min 47 sec).
Overall, there are only two teeth, but they are more than enough for this how to draw Goofy tutorial. Same thing with the mouth: the rough sketch will guide you and help you position it right (04 min 25 sec). Once the tongue is in place, the drawing will almost be over. All that’s left to do is finish the neck and put that extravagant hat on his head (04 min 50 sec).
Before you learn how to draw Goofy, did you know?
This fast, agile, and brisk doggy is a fan-favored. Millions of folks around the world are in love with his amazing personality, and not all of them are little kids. He first saw the light of day back in 1932 and is still around. As the best friend of Mickey the mouse and Donald the duck, he’s considered to be “cartoon royalty”.
That was amazing!! I love how it turned out and thank you for the post:)