Learn How to draw Girls Quickly & Easily!
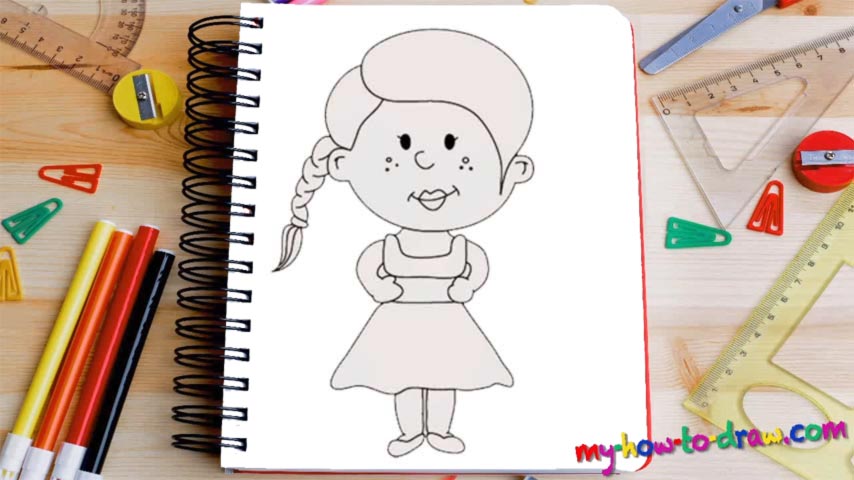
This isn’t the easiest video guide on our website per se, but it most certainly will become one of your favorites after you finish it. Besides, if you follow our tips in this how to draw Girls tutorial, you’ll master it sooner than you think! The hair and the head are the most important features of this drawing. So, start by creating a curvy line for the bottom of the face, and another one above it (and much shorter) for the mouth (00 min 05 sec).
The C-like line is the nose. The shape above it is, of course, a part of the hair. Next, add the lips (and remember – the lower lip should be fuller). The ears also look like the letter “C” – only they’re bigger this time. Ok, now we move further below and take care of the girl’s dress (00 min 12 sec). The skirt is a triangle, except that the bottom is zigzaggy. The hands are very simplified and are a piece of cake.
Before you move on to the final part of this how to draw Girls tutorial – the pigtail – don’t forget about her shoes (00 min 16 sec)! The hairstyle consists of several identical parts and turns into some sort of a tail at the end (hence the name). If it looks good, go back to the face and add the eyes (just two tiny black circles with short lines) and the freckles right below them (00 min 36 sec).
Before you learn how to draw Girls, did you know?
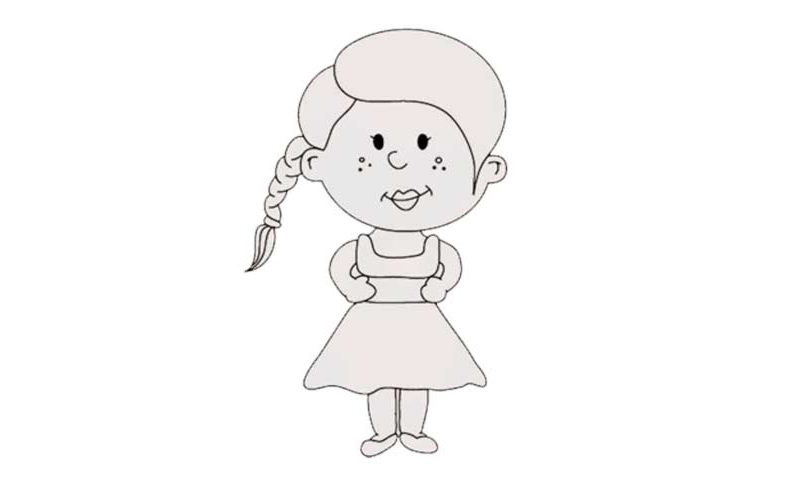
We’ve got a pretty standard image of a young lady in this tutorial. With a skirt, cute little shoes and a pigtail, she looks like an average schoolgirl next door. For obvious purposes, we tried to keep the details to a minimum while still making her look realistic.
The head is very big, but that’s some sort of a rule when it comes to cartoon characters. The facial features are simplified, and you’ll be able to “nail” this lesson even without any proper training. Sounds fun, doesn’t it?