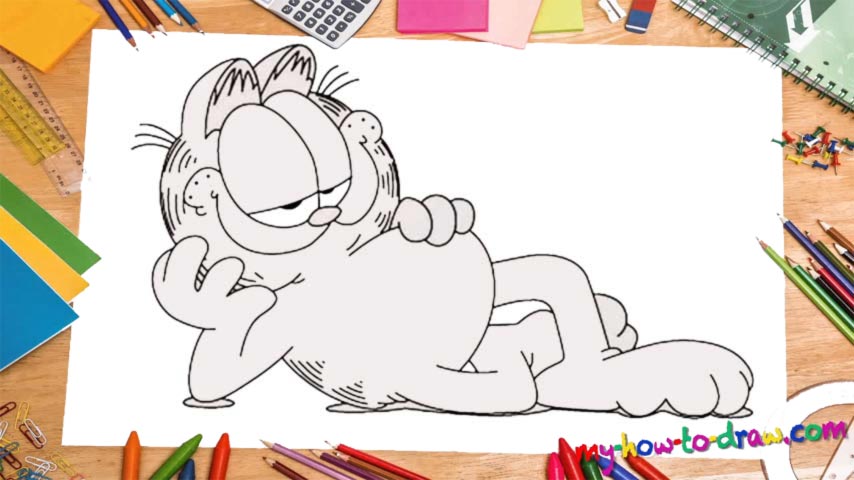
Learn How To Draw Garfield Quickly & Easily
The nose and the curves for the cheeks come first (00 min 05 sec). The cat’s eyes are pretty big and in-your-face (00 min 08 sec). You’ll need two overlapping ovals for this stage of the how to draw Garfield tutorial. Take a good look at the final result in my video to know exactly what we’re going for here. Without it, it will be much harder to get this right.
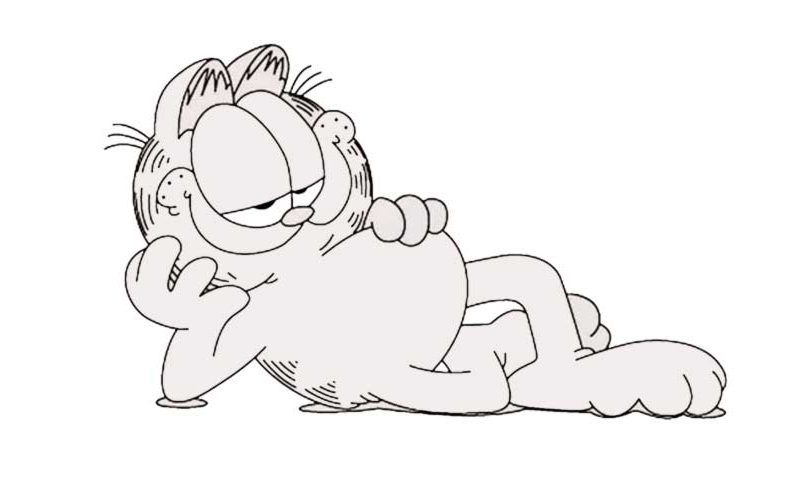
But if you do that, it will become clear why we’ll need all those chaotic lines all over (00 min 12 sec). He’s leaning on his left hand (00 min 18 sec). Add the fingers and the tilt of the arm to make it look realistic. As for the right hand, it’s resting on the cat’s belly (00 min 20 sec). The ears sit on top of the eyes and are pretty much identical to each other. Use a curvy line to shape that belly (00 min 25 sec).
Now that we’re almost done with this how to draw Garfield tutorial, it’s time to get to the legs (00 min 30 sec). The character is in a laid-back position, and his feet are just lying there in the most comfortable way. They’re pretty big but don’t come with any sophisticated details. After you add those lines all over his body, you’ll be officially done with this video!
Before you learn how to draw Garfield, did you know?
This chubby, lazy, eccentric and cynical cat is the hero of a popular comic strip. He doesn’t do much during the day apart from eating, sleeping, and acting as a moron. Garfield is in love with coffee, the classic Italian lasagna, and hates pretty much everything else.
He came to life in 1978, and because of his business-threatening appetite, his owner had no other choice but to sell him to a local pet shop. A man named Jon took him in and became his favorite owner. Garfield didn’t change a bit and kept on wreaking havoc.