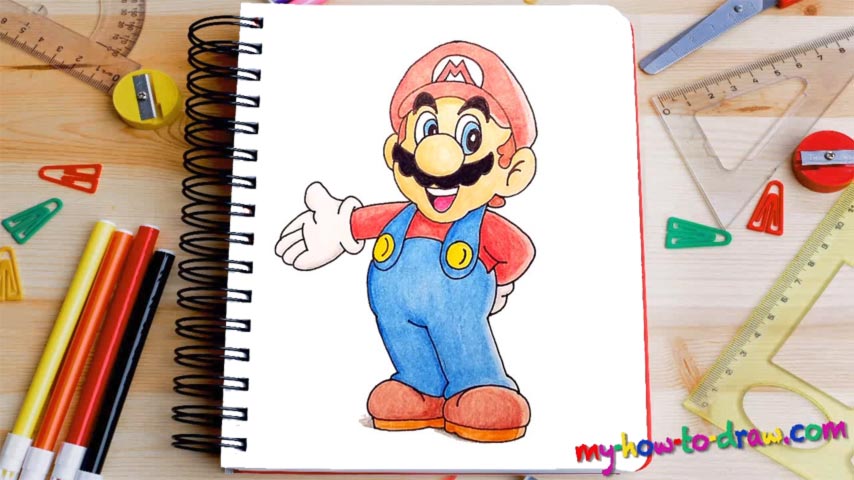
Learn How to draw Mario Quickly & Easily
Ok, let’s get right to it: first of all, draw the round nose in the middle of his face (00 min 02 sec). The trademark mustache comes next (00 min 10 sec). If you’re happy with what you’ve got some far, move on to the next step of this how to draw Mario tutorial – the eyes (00 min 27 sec). They’re almost identical, except that the pupil in the left eye is actually smaller.
The mouse is a combination of simple curves on top of each other (01 min 04 sec). Once you’re done with the eyebrows, move on to the head (01 min 32 sec). Watch my moves in the video and try to be accurate with your lines. That curve there is the ear (01 min 25 sec). Color the eyebrows next and get to the next step in this how to draw Mario guide – the famous hat on his head (02 min 46 sec).
After you get it right, the upper part of our drawing will be done. The rest of the body begins with the jumpsuit (03 min 13 sec). Start drawing the hand at the bottom of the head (03 min 45 sec). It’s pretty short yet wide and accentuates the whole cartoony idea. The right hand is much simpler and, overall, is a piece of cake.
It might be a bit hard to get the angle of the legs right, and that is why I created a dot there – to guide me (04 min 53). That’s a very important tip from our how to draw Mario tutorial: use dots like that one to help yourself with sophisticated shapes. The shoes, in turn, are big yet simple (05 min 24 sec). Finally, go back to his mustache and paint it black.
Before you learn how to draw Mario, did you know?
If you’re a fan of old-school video-games, then this overachieving plumber must be one of your favorite virtual heroes. He’s been through numerous adventures and spent most of his time fighting the bad guys. Energetic, happy and ever-vigilant, he’s the symbol of Nintendo and their attitude towards the players.