Learn How To Draw Faces Quickly & Easily!
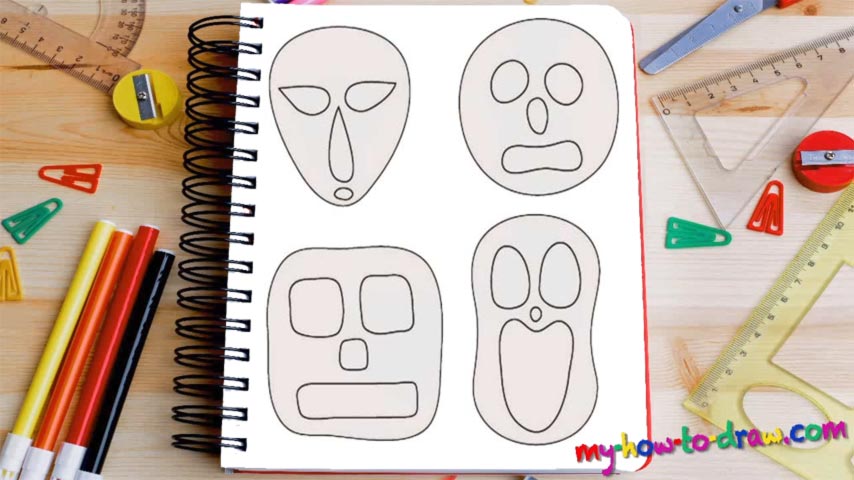
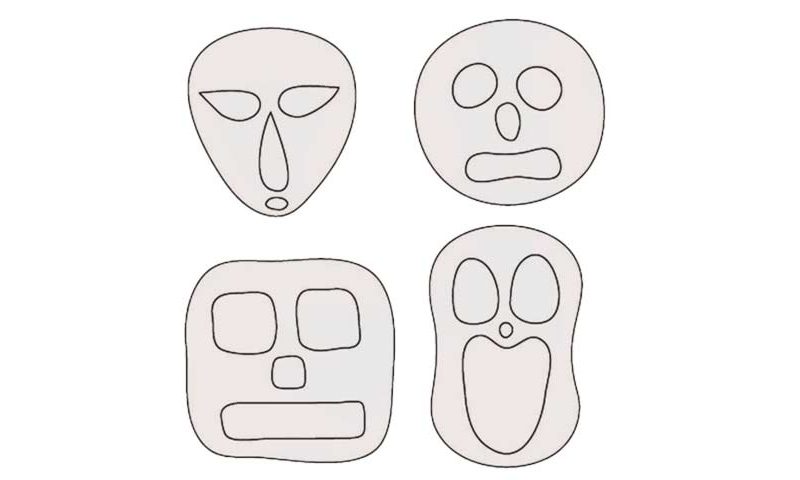
Before you get to the various facial features, make sure all the “heads” are in place (00 min 05 sec). The one in the top left corner looks like a guitar pick, doesn’t it? The next part of this how to draw Faces tutorial, the circle in the top right corner, is plain and simple. You’ve got a square in the bottom left and a shape that resembles a regular medical patch on the right. That’s it for the heads. Now we get to the details.
The eyes come first (00 min 10 sec). Again, they are super-easy and will be like child’s play. The first face comes with two big, majestic eyes that look like tears. The second one features two circles; the rest of them are just as straightforward. The final stage in this how to draw Faces guide are, of course, the noses and the mouths (00 min 15 sec).
If you take a look at the shapes of the faces, you’ll be able to guess what their respective features should be like. That’s actually it for this tutorial! It’s pretty short and easy, perfect for training your hand and gaining some confidence, among other things.
Before you learn how to draw Faces, did you know?
Scary and mysterious faces like these ones come from ancient times, back when the Egyptians were a great empire. Every single expression meant something, and people used them to communicate with each other and praise their gods, among other things.
Even though these shapes are super-simple and will be a piece of cake for you, treat them with respect and try to take something away from this tutorial. The facial features are the same: it all goes down to using different shapes and altering the size and the placement.
Did you know that the shamans in various cultures considered masks made of clay and/or mud to be sacred? They used them to connect with their elders and ask them for a better weather, more crops, and a safe, predictable future!