Learn How to draw Dora The Explorer Quickly & Easily!
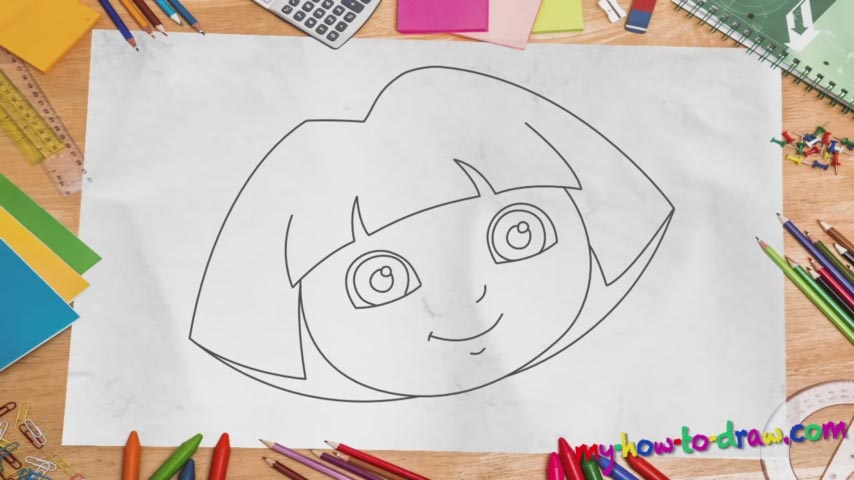
Alright, let’s get right to it without any introductions. We begin with the girl’s big, bright eyes (00 min 30 sec). You’ll need four circles of different sizes for each eye – nothing more, nothing less. The next stage of this how to draw Dora The Explorer tutorial is the nose – just a super-basic curvy shape next to the right eye. The mouth and the chin are also extremely simple, and that’s the beauty of this drawing.
We’re going for a minimalistic approach and are trying to create an exact portrait of the popular character. The hair comes next (01 min 25 sec). Those trademark bangs are a very important part of this composition. Thankfully, they are just as primitive as the rest of this drawing (in a good way) and won’t take much effort to complete. Once those are in place, proceed with this how to draw Dora The Explorer tutorial and get to the head.
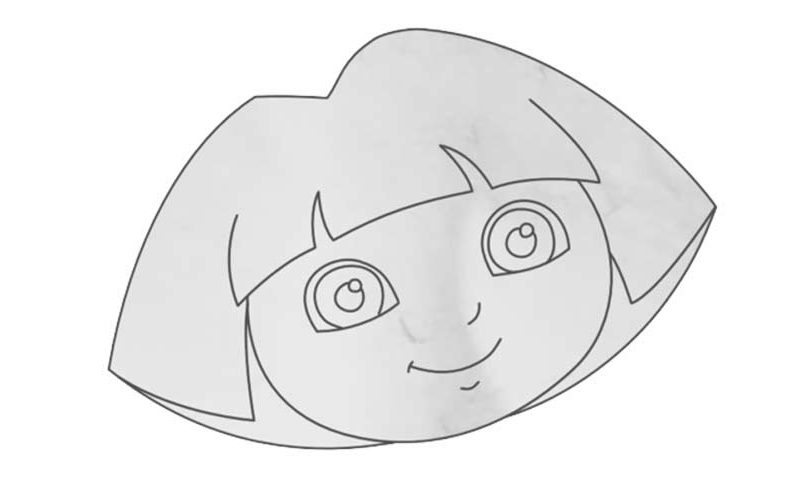
Use a super-curvy line that starts at the bangs and ends a bit lower the chin we put in earlier (01 min 48 sec). After that, all that’s left for you to do is finish the hair. Use two identical lines that intersect at the top and form the girl’s retro hairstyle. Ok, that’s it for today’s video guide, dear boys, and girls. Now go ahead and check out the phenomenal Dora on your screen!
Before you learn how to draw Dora The Explorer, did you know?
This is one of the most successful animated TV series of our time. Launched back in 2000, it lasted for eight seasons and more than 170 episodes! The show ended in 2014, and there are some rumors about Hollywood making a big-screen adaptation for 2019.
Dora is a 7-year-old girl living in the US. She’s got Mexican roots and uses this mighty combination to solve her everyday problems. With a passion for adventures and discovering new things, she’s always on a quest towards the unknown, together with her talking backpack and funny monkey friend.