Learn How to Draw David Bowie Quickly & Easily!
You know who Mr. Bowie was, right? Only one of the greatest musicians on planet Earth! This how to draw David Bowie tutorial is a small tribute to the legendary man who, unfortunately, is not with us anymore. Ok, let’s begin. First of all, you’ll need to draw two vertical lines as the guides for your future drawing (00 min 18 sec).
Next, split them right in the middle. The jawline should be smooth, narrow and pretty long (00 min 34 sec). Once you’re happy with that, draw two identical curves for David’s eyes and mouth. Alright, that’s it for the guidelines in the how to draw David Bowie manual. Now we can start drawing the hair (00 min 52 sec).
The curly hair might seem like a huge challenge for you, but it really isn’t. Believe us, there’s nothing hard about drawing several chaotic curves and lines (01 min 35 sec). After you’re done with the main part, move on to the “inner part” (02 min 25 sec).
The next step would be to take care of the side-whiskers (03 min 14 sec). The eyes, one of the most important parts in any drawing, should be located right on the second guiding line we did in the beginning (04 min 43 sec). The nose (the nostrils, to be exact) and the mouth come next (05 min 07 sec).
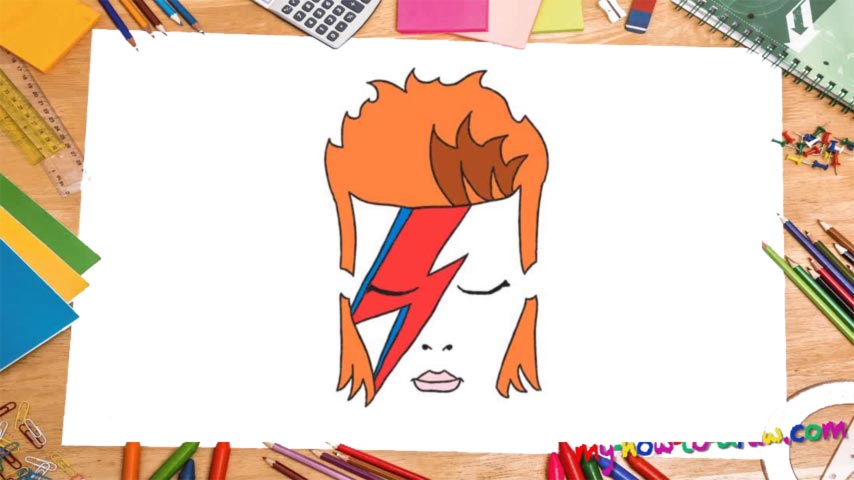
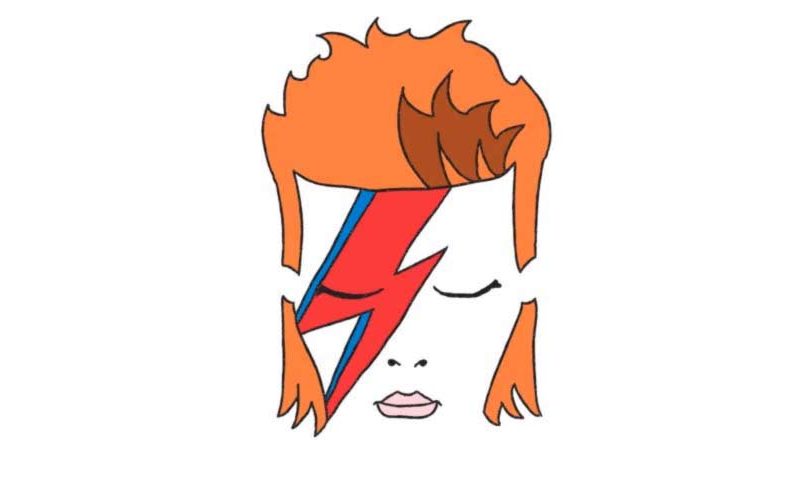
The final part of our how to draw David Bowie tutorial is the trademark “print” on the man’s face (05 min 44 sec). It’s a piece of cake, really. If you’re happy with your work, use a marker to get rid of the guides and voila (06 min 22 sec)!
This drawing was created as a small tribute to David Bowie who passed away early this week and just 2 days after his birthday.
Before you learn how to draw David Bowie, did you know?
David Jones was Mr. Bowie’s real name.
The man came to this earth on Jan 8th, 1947 in the UK.
He wasn’t just a fascinating singer. Bowie was also an amazing songwriter and producer. Furthermore, he could act and draw!
Back when the man was a teenage boy (15 years of age), he started his first band.
Overall, this artist sold more than 140 million (!) records worldwide.
He past away last year after fighting cancer for a very long time.