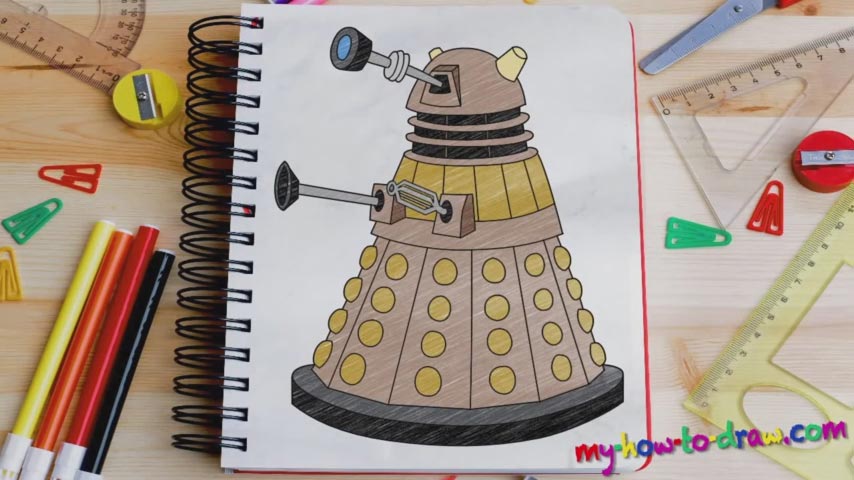
Learn How to draw A Dalek – Doctor Who Quickly & Easily!
Start the rough sketch with the “tower” in the top corner (01 min 18 sec). Next, create two tilted vertical lines like you see in the video and connect them with each other using a curvy line at the bottom (01 min 39 sec). That’s the foundation of the how to draw a Dalek – Doctor Who tutorial. Next, get to the “hands” and the “nose” (02 min 47 sec).
At this point, all you need to do is create three pointy lines and two circles – that’s it. Obviously, these will need additional work, and we’ll get to that in a jiffy; but right now, you should leave it at that. All good? Ok then – put your pencil away and grab your favorite marker: it’s time to get to the next stage in this how to draw a Dalek – Doctor Who guide – the clean drawing.
I personally recommend beginning with the “nose” (04 min 10 sec). Make that circle look 3-dimensional and connect it to the head with a line like you see in the video. Finish the top part of this robot by adding two tiny antennas (05 min 42 sec). The next stage is a tricky one (06 min 14 sec). There’s no point in describing it: follow the guidelines in the video and bring this home. If you’re satisfied with the result, get to the second “floor”.
The right “hand” looks like a futuristic key of some sorts (07 min 29 sec). It’s the easiest part of our how to draw a Dalek – Doctor Who tutorial. As for the right one, it looks a bit like the “nose” and won’t cause you any trouble (08 min 39 sec). The big, shiny foundation is the final step (10 min 10 sec). Thankfully, it’s also pretty easy. After you add a series of perfectly-smooth lines, draw a number of circles that cover the entire body (10 min 50 sec).
Before you learn how to draw A Dalek – Doctor Who, did you know?
If you take a look at these robotic constructions, you’ll probably think that they have no souls. However, if Doctor Who is your favorite show, then you already know that these shells are meant to protect the vulnerable cyborg bodies trapped inside these mechanical beasts.