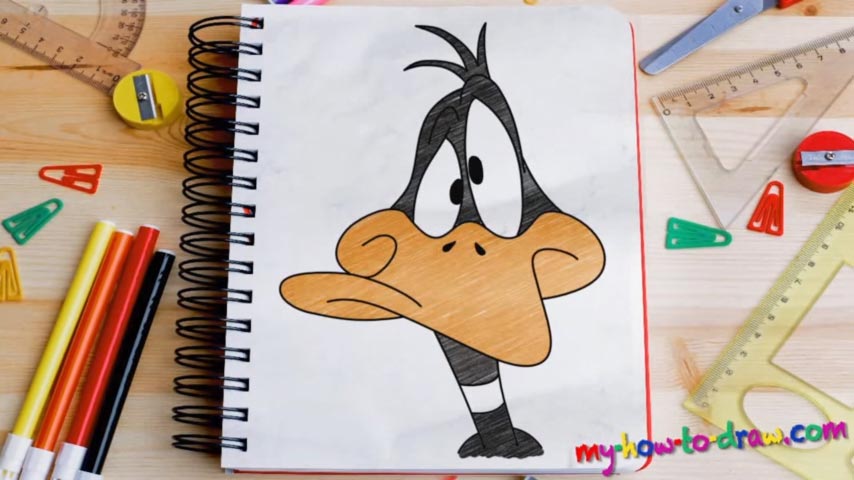
Learn How to draw Daffy Duck Quickly & Easily!
Place your paper right, grab your favorite marker or pencil with dark strokes, and let’s try to learn how to draw Daffy Duck together! Start with the eyes, or, rather, the tip of its nose where they sit (00 min 27 sec). Please keep in mind that even though the eyes are identical, the right one is significantly bigger. Thankfully, they’re both super-easy to draw.
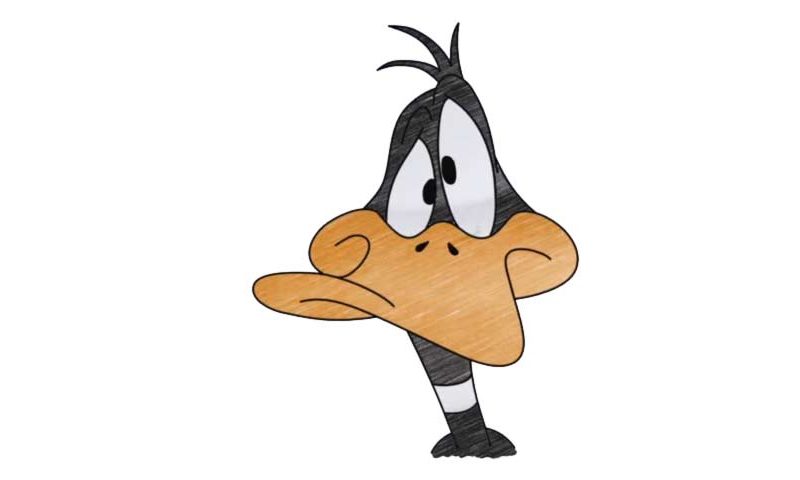
The jaw and the mouth come next (01 min 12 sec). Because of the cartoony style, his head looks like a squash or any other vegetable. And that’s the hardest part: if you want your composition to look authentic, you’ll have to try to make it look exactly like in the video. First of all, you’ll need an S-like shape for the lower part of the jaw.
Next, add three curvy lines that cover the left part of the jaw, and two more on both sides that will merge it all into a cartoon head (01 min 21 sec).Take your time with it. If you’re happy with what you’ve got so far, add the nostrils and move on to the final stage of this how to draw Daffy Duck tutorial – the upper part of the head. It’s actually quite simple.
First, add the eyebrows (01 min 54 sec). Next, draw that ridiculous hair on top (02 min 10 sec). And, before you say goodbye, create an extremely-thin neck for our hero (02 min 20 sec).
Before you learn how to draw Daffy Duck, did you know?
If you’re old-school and/or love the retro cartoons, then this character is, without a doubt, one of your favorites. He’s Bugs Bunny’s BFF and is ready to sacrifice his own life for the guy. He was first introduced to the world in 1930 and is still a popular duck.
As far as the greatest cartoon characters of all time go, Daffy always makes it into the list of the best of the best. A black duck that can run faster than most of the creatures around him, this hero has made an appearance in as many as 130 shorts back in the day.