Learn How To Draw Santa Claus Quickly & Easily
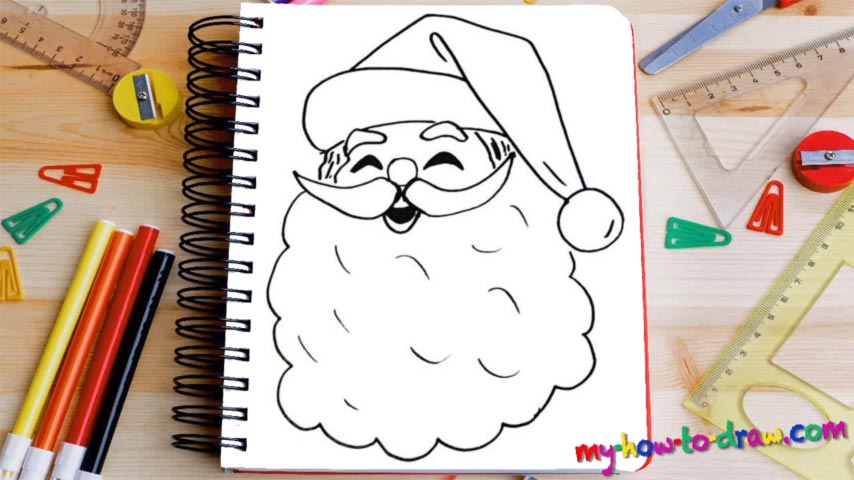
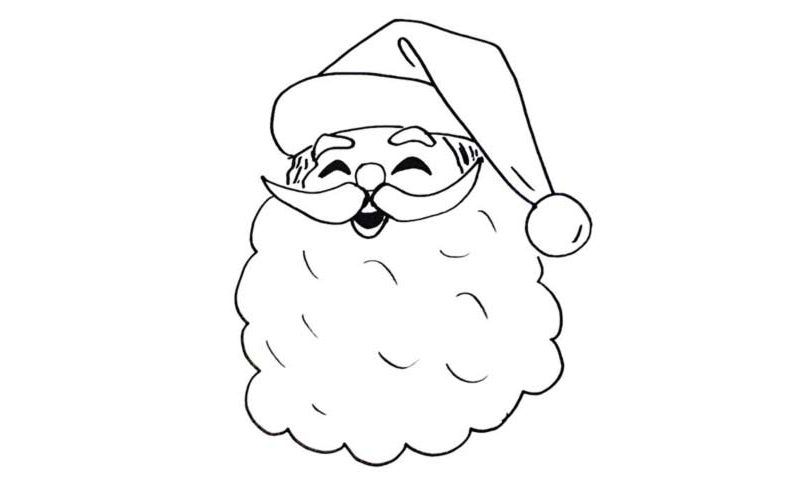
That little circle in the middle of the paper is the old man’s nose (00 min 05 sec). The mighty mustache is the next step in this how to draw Santa Claus tutorial (00 min 12 sec). The mouth is very simple and consists of similar curves on top of each other. You should color it black. The eyes are located very close to the cute nose and look something like two reversed half-moons (00 min 50 sec).
And, they are identical to each other. The brows, by the way, are even bigger than the eyes, which accentuates the fact that this is, indeed, a fairytale character. The next step in this how to draw Santa Claus tutorial is the fancy beard (01 min 10 sec). It’s pretty huge and takes most of the lower half of the paper. Use zigzag-like lines to accentuate the fluffiness of the beard and make sure you’ve got just the right size (watch the video for that).
The classic hat is the last step in this lesson (01 min 22 sec). There’s nothing difficult about it: the hat consists of primitive lines and a circle in the bottom right corner – that’s it! Before you say goodbye, don’t forget to add those line on the beard to make it look more realistic (01 min 58 sec). Ok, now we’re done!
Before you learn how to draw Santa Claus, did you know?
Who doesn’t like Santa, right? He’s a kind-hearted old man with a fancy beard and a bag full of presents. He never shows his face in the public and stays at home for all-year-long, except for the Christmas Day. During the holidays, he visits our world for a couple of days.
Santa gets into our homes through the chimney, leaves the presents below the Christmas tree and leaves without even saying goodbye. If you were a good boy/girl this year, rest assured that this grandpa will bring you whatever presents you wish for – that’s a promise!