Learn How to draw Cinderella Quickly & Easily!
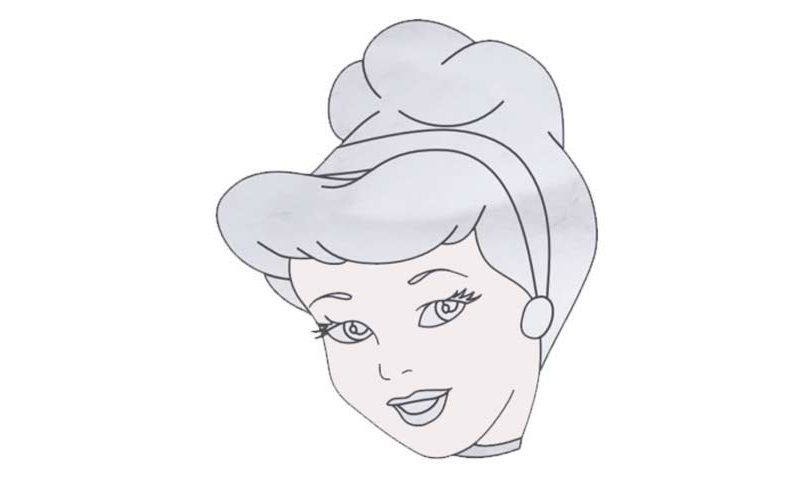
Before you get to this wonderful drawing, make sure your paper matches mine in size. Pick a pencil with dark strokes or a marker. Ok, now we learn how to draw Cinderella. This is a pretty realistic portrait, which means you’ll have to be very accurate with every single line. Begin with a series of curves on top of her forehead that represents the hair (00 min 28 sec). You’ll need four in total.
Then, jump to the bottom of the paper and draw the lower jaw. Use a combination of two S-like lines to connect it to the hair (00 min 42 sec). The eyes and the nose is the next stage (00 min 51 sec). First, use four simple curves to create some sort of guidelines for yourself. Once those are in place, get to the eyes and add all the necessary details. And keep in mind that the eyelashes are nice and lush.
The next stage of this how to draw Cinderella tutorial is the mouth (02 min 03 sec). Remember: the lower lip must be bigger. The earring is just an oval shape – nothing fancy (02 min 23 sec). The girl’s hair is the final step. It looks a lot like something from the 50s and is actually just a combination of primitive curves. Make the lines nice and smooth; the hair should be just as big (or, rather, wide) as the face.
Before you learn how to draw Cinderella, did you know?
This lovely girl first appeared on the screen back in 1950 (in a movie of the same name) and instantly became famous. As the 2nd Disney princess, she’s been portrayed and featured in numerous movies, TV series, books, and even theatrical performances.
She was born in a rich and influential family, to loving and caring parents. After her mom passed away, the man of the house decided that Cinderella needed a woman in her life and married a different lady. Unfortunately, she was pure evil and turned the girl’s life into hell.
