Learn How To Draw Choppers Quickly & Easily!
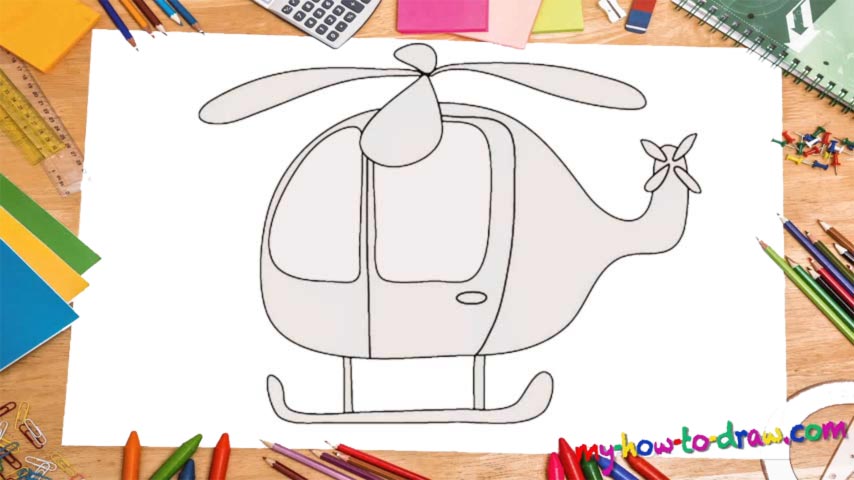
Before we get to the meat and potatoes, let’s use two simple shapes to create some perspective (00 min 05 sec). Add the lower “blade” and the very foundation of the chopper first. Next, create the upper blade and the propeller on the tail (00 min 08 sec). It consists of four simple and identical shapes that look like a flower – nothing hard about that part.
If you’re happy with the result so far, move on to the next stage in this how to draw Choppers tutorial – the “body”. Imagine a bottle from the fairytale movies lying on its side – that’s how the helo looks. The blades on both sides are longer than the other ones. The door is almost as tall as the helicopter itself and holds the center window (00 min 20 sec). There’s another window in the left corner for the pilots.
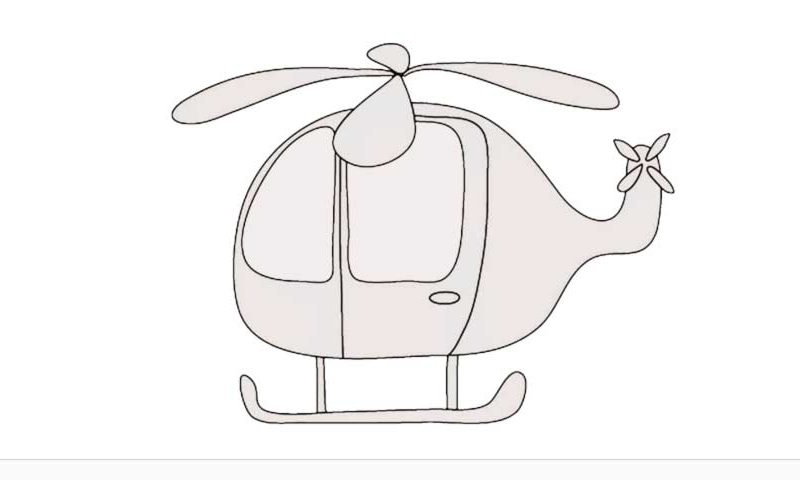
We’re almost done with this how to draw Choppers tutorial, ladies, and gentlemen. All that’s left to do is add a tiny detail below the window on the right and connect the body to the foundation (00 min 26 sec). Now you can officially say that you’ve mastered this video guide! True, this is a very simple image and looks more like a toy than the real thing, but don’t sell yourself short, because this is an important step forward!
Before you learn how to draw Choppers, did you know?
Do you know what the difference between a helicopter and a chopper is? Basically, the latter has limited capabilities (functionality) and is used for civilian purposes. However, the military folks also use this word, even though they have the best and the most versatile helos at their disposal.
By the way, the very first references to a machine that could (potentially) fly vertically are found in China, back in 400 BC! In the 15th century, da Vinci created his now-famous design but never found a way to turn it into a reality. The first flying chopper was made in 1901.