Learn How To Draw Cats Quickly & Easily!
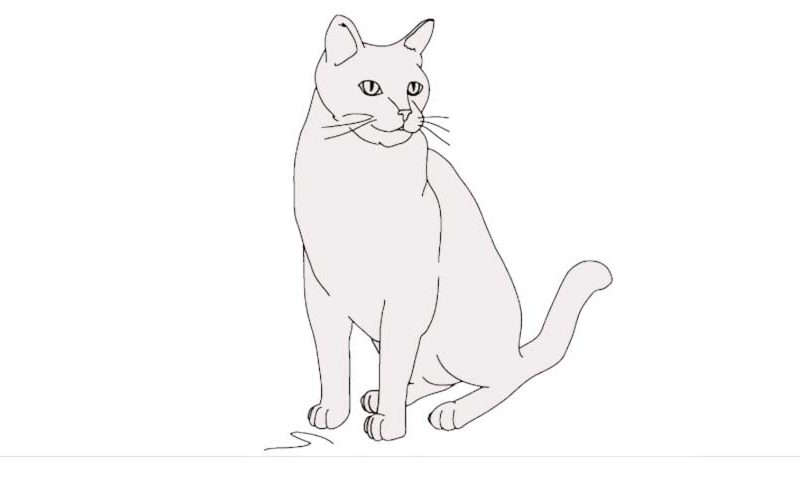
Don’t know where to start? Well, how about that nose (00 min 05 sec)? Once it’s in place, add a series of lines like you see in the video to shape the face and the mouth. The eyes are located right above the nose line and are the next step in this how to draw Cats tutorial (00 min 12 sec). The pupils should be nice and long and almost reach the bottom of the eyes for a realistic image (00 min 20 sec).
If you’re happy with the result so far, draw the ears (00 min 24 sec). Then, use two curvy lines on both sides to connect them to the lower part of the face. The ears aren’t done yet: go back and add more details just like you see in the guide (00 min 30 sec). Ok, we’re done with the head. Now it’s time to get to the body. It’s simpler in terms of accuracy but comes with many long lines that need to be of the right size.
This is the last stage of our how to draw Cats tutorial. The most important thing here is to keep the proportions right (00 min 47 sec). The animal has two “claw lines” on each leg and a pretty thick tail (01 min 07 sec). The whiskers are the last thing you should take care of before closing the video and completing this drawing.
Before you learn how to draw Cats, did you know?
Cats are the weakest link in the so-called “feline kingdom”, with the lions being on top of the food chain and the kings of the jungle. At the same time, cats found a way to co-exist with the humans, which gave them numerous advantages over the rest of their kind.
You probably own one and/or know a friend who’s in love with these tiny creatures. Fast, agile, and capable of killing a mouse/rat with a single hit, they are still feisty predators. But, over the centuries, cats have turned into domestic family members rather than brutal killers.
that was amazing if I didn’t know this website I would of missed a birthday party present thank you sooooooooooooooo much for saving my and making this website