Learn How To Draw Cartoon Dogs Quickly & Easily!
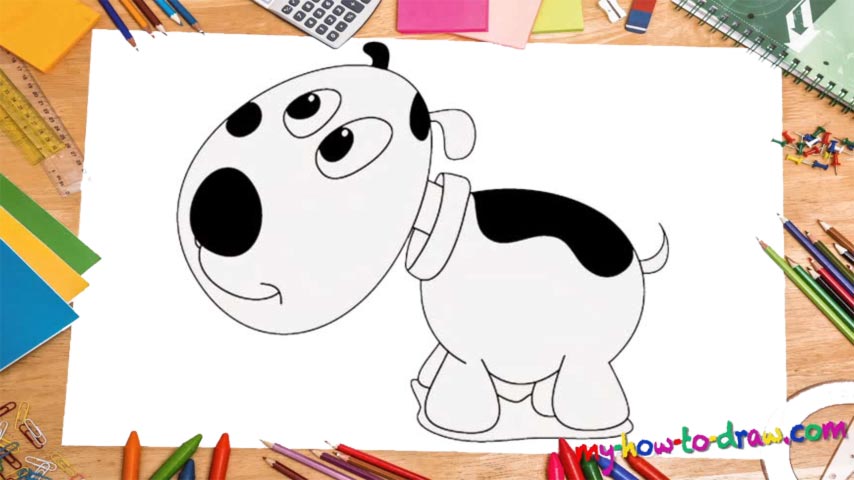
As you can already see, our doggy is not pretending to be a big, scary hound and is using its cuteness as the main “weapon”. Make sure you remember that while working on this how to draw Cartoon Dogs tutorial. Begin by drawing an oval shape that looks exactly like an egg (00 min 05 sec). There’s a much smaller black circle in the bottom-left corner, and it’s the animal’s nose, in case you were wondering.
The eyes and the mouth come next (00 min 08 sec). The right eye is bigger than the left one. The right ear is also bigger than the left one, and it’s colored in white (as opposed to the black color on the left ear). As for the mouth, it’s just a simple curvy shape right below the nose. Don’t forget about that “arrow” as the tip (00 min 12 sec). The pupils are pretty big and accentuate the brute’s character.
The next step of this how to draw Cartoon Dogs tutorial is the collar on its neck (00 min 16 sec). The body follows. It looks like a huge reversed “C”. Leave some space at the very bottom (for the legs). You’ve got four in total, and the ones in the back are barely visible. Before you say goodbye, add the tail and a couple of black spots all over the dog to make it look more realistic (00 min 37 sec).
Before you learn how to draw Cartoon Dogs, did you know?
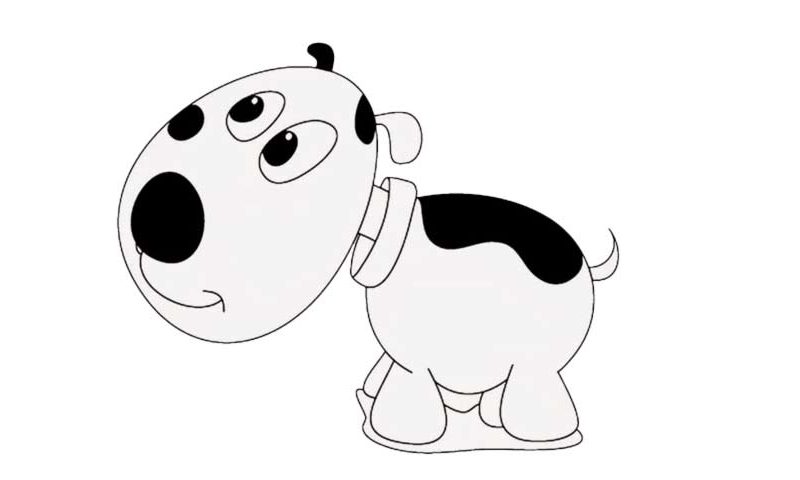
There are numerous dog species on planet Earth, and it will take the whole day for me to list them here. When it comes to the cartoons, the creators are free to portrait these animals the way they see them, without worrying about the proportions or the sizes.
For example, the doggy in our tutorial has a huge head that’s bigger than the body. You won’t find a single male or female pooch in the real world that looks that way. However, it makes the on-screen dogs look really cool, and that is why the artists stick with this concept.