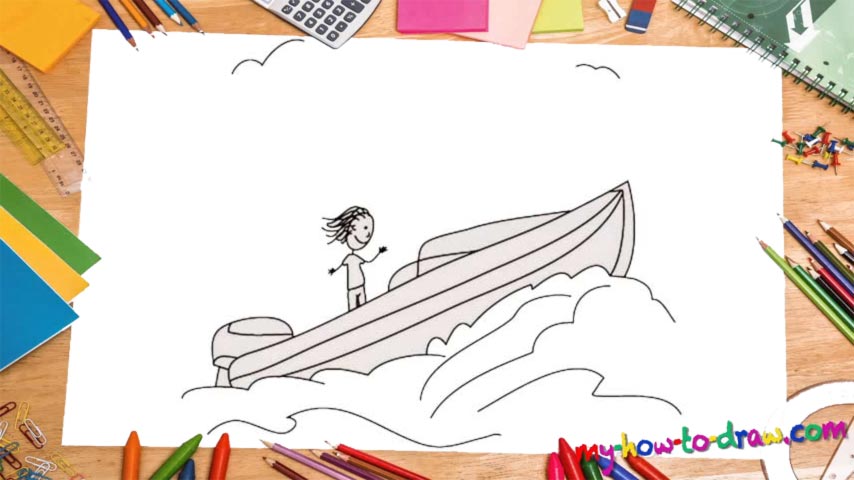
Learn How To Draw Boats Quickly & Easily!
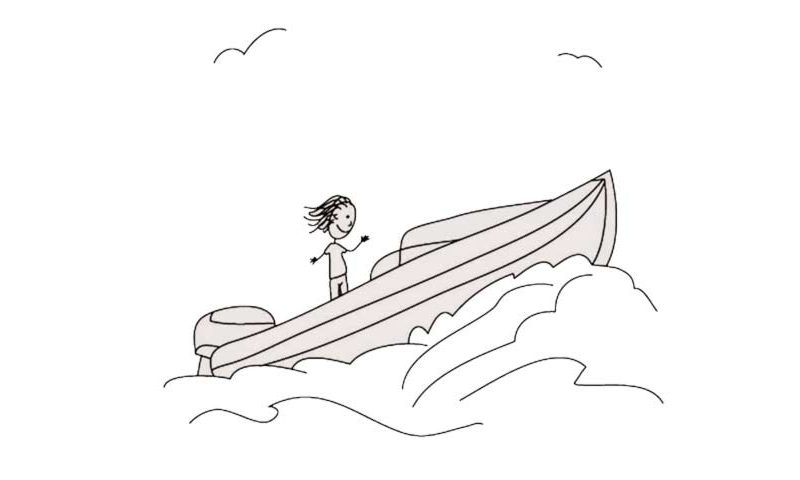
The best way to approach this drawing is to outline the boat’s body first (00 min 05 sec). That will give you an understanding of the final result and put all the remaining parts exactly where they need to be. The next step in this how to draw Boats tutorial should be the water waves at the bottom of our sea vessel (00 min 08 sec). Don’t try to be 100% accurate with them and go with what’s in your head.
Use zigzaggy lines and remember that they look almost like clouds up in the sky. You’ve got three separate waves covering the bottom of the boat. If everything looks good, move up to the details in the front and the engine in the back (00 min 17 sec). And don’t forget to keep adding those waves by following the video guide and using simple lines to make the water look more realistic – you’ll need 7 curves in total (00 min 21 sec).
The last steps of the how to draw Boats tutorial include the human riding it and the birds at the very top of the paper (00 min 28 sec). Judging by the hair, it’s a girl, and she looks happy :). It’s a very simple figure and you’ll be done with it in a matter of seconds. As for the birds, you can use V-like lines for them – that’s it (00 min 40 sec)!
Before you learn how to draw Boats, did you know?
In the previous centuries, back when we didn’t have planes, helicopters, and/or sophisticated sea vessels, boats were the only means of water transportation. They have been around since the dawn of humanity and are still a big part of our lives.
Regular people own simple boats for finishing and travels, but the military folks have moved on to most complex and sophisticated solutions. There are numerous concepts out there, and the one we’ll be discussing in this tutorial is the most basic edition with an engine.