Learn How to Draw BB-8 – Star Wars Droid Quickly & Easily!
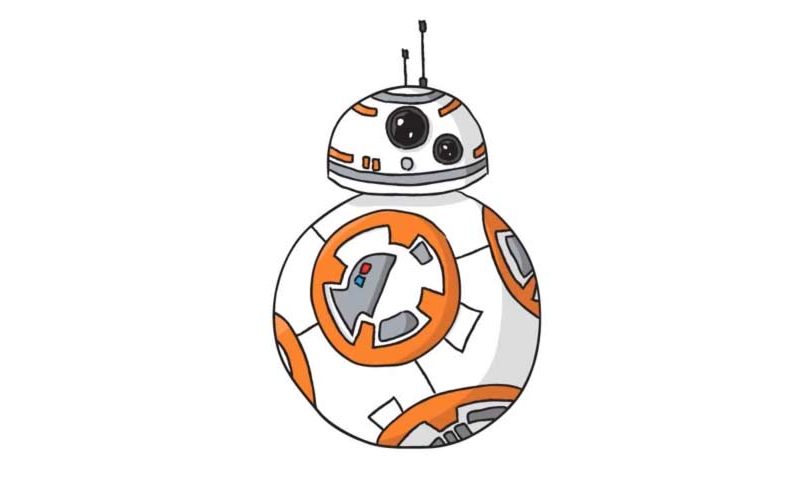
Despite the sophisticated nature of this funny guy, he pretty much consists of 2 circles (00 min 17 sec). Draw a bigger circle for the body and a tinier one for the head. It goes without saying that you need to use light strokes to be able to erase the guidelines later. That’s the #1 rule in this how to draw BB-8 – Star Wars Druid tutorial. After you’re done with the guides, start working on the real thing (00 min 35 sec).
Create a curve across the smaller circle – that’s where the “head” will connect to the rest of the body. The rest of it is pretty easy: just follow the video and basically draw additional lines where your guidelines used to be (00 min 54 sec).
Once you finish with the two eyes, your robot will look a lot like the real thing (01 min 15 sec). Before you move on to the double antenna, make sure all the “facial features” are in place (02 min 05 sec).
The next step in our how to draw BB-8 – Star Wars Druid manual is to draw the circle in the upper left area of the body and three additional half-circles on the bottom and on the sides (02 min 39 sec).
The remaining details are straightforward and won’t require any big drawing skills. The last step would be to go over your robot and erase the guidelines with a marker (04 min 15 sec). And that’s it! As you can see, this tutorial is one of the easier ones; yet, the end result is quite satisfying.
Before you learn how to draw BB-8 – Star Wars character, did you know?
Without a doubt, he is one of the finest characters in the Star Wars universe and a fan-favorite. He’s been around for decades, and several generations appreciate this overzealous little fella who’s fighting for the Greater Good.
This series is famous for bringing awesome characters to the people and helping them connect on a whole another level. Back when the first SW movies were hitting the big screen, we didn’t have top-notch CGI effects, and these things were real, as opposed to the computer-made versions that are featured in the modern-day chapters.
