Learn How To Draw Bart Simpson Quickly & Easily
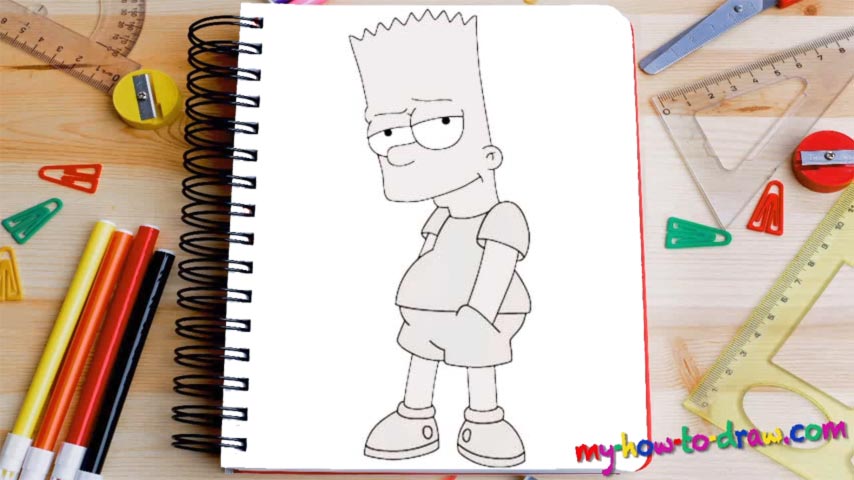
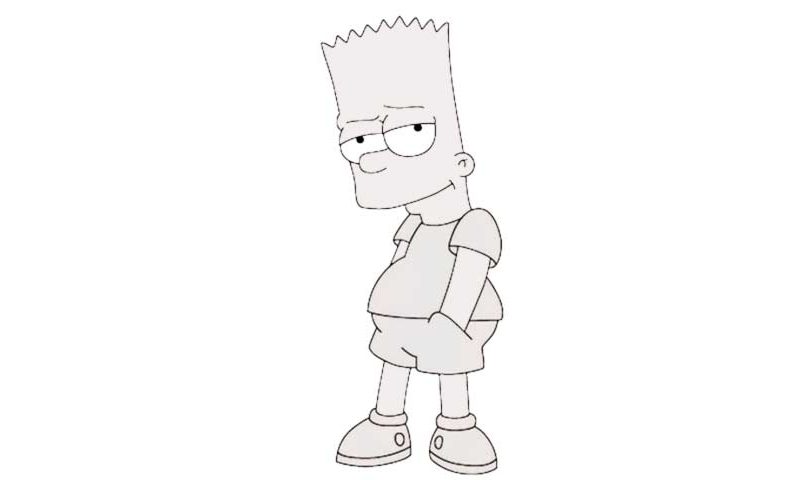
Just like all the other members of this famous family, Bart has some “rectangular” features like the chin (00 min 04 sec). You’ve got the nose located right above it, with the eyes overlapping each other (00 min 12 sec). The brows are nice and simple, just like that left ear. The next steps in this how to draw Bart Simpson tutorial are the lines for the fella’s head (00 min 16 sec).
Make sure they’re nice and straight. As for the hair, you’ll need a series of zigzags to complete it (00 in 20 sec). Happy with what you’ve got on the paper so far? Great, then let’s proceed with this video guide and get to the body. He’s got a simple T-shirt and some basic shorts on. Create a series of guiding lines for the belly and get to the hands. You can clearly see that he put them in the pockets (00 min 32 sec).
The final stage in this how to draw Bart Simpson tutorial, the legs, come next (00 min 36 sec). I recommend putting the socks in first and only then moving on to the shoes and the legs. That’s not a strict rule: just get it done. Keep in mind that the head is the tallest part of this drawing; the body is #2 and the legs are #3. Don’t forget about the pupils (00 min 48 sec)!
Before you learn how to draw Bart Simpson, did you know?
This regular American kid first appeared on our screen in 1987. He’s the only son of Homer, one of the greatest cartoon characters ever created, and that puts certain responsibilities on his young shoulders. He’s 10-years-old and smart for his age.
At the same time, he doesn’t recognize the authority of the grown-ups and keeps on being a rebel despite his parents’ attempts to put some sense into him. For a teenage boy like himself, that’s totally normal. Still, he loves his family and cares for his friends.