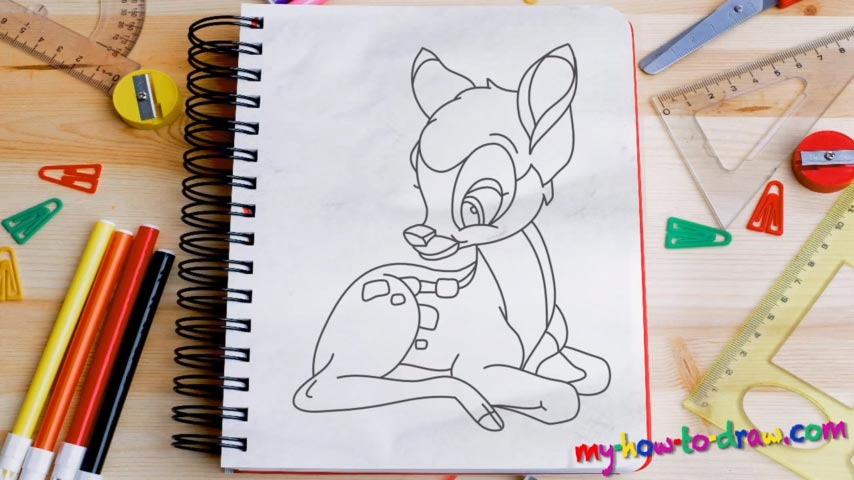
Learn How to draw Bambi Quickly & Easily!
We begin this drawing with the eye (00 min 30 sec). It’s very smooth and comes with round curves. Those two equally-shaped ovals of different size are the most important part. Once you get them right, the rest will be easy. The nose comes next (01 min 07 sec). It might look like a tiny box or something like that right now, but it’s OK – it will make sense after you add the rest of the facial features in this how to draw Bambi tutorial.
Alright, now we get to the head (01 min 24 sec). Use a curvy C-like line to connect the eye to the head. Another vertical line to the nose will complete the left half of the face. The top of the head shouldn’t be as smooth – go for something fluffy (01 min 40 sec). The right ear starts with a question mark line at the top corner of the paper. The final result should look like a leaf or some sort of a roll.
With the help of a couple of simple curves, connect it to the nose and form the mouth (02 min 10 sec). The left ear is considerably easier than the right one; that is why we won’t focus our attention on it. The final stage of the how to draw Bambi tutorial – the body – follows. The rear leg is the first thing we’ll take care of (02 min 53 sec). Obviously, it’s got four legs, but we can only see three.
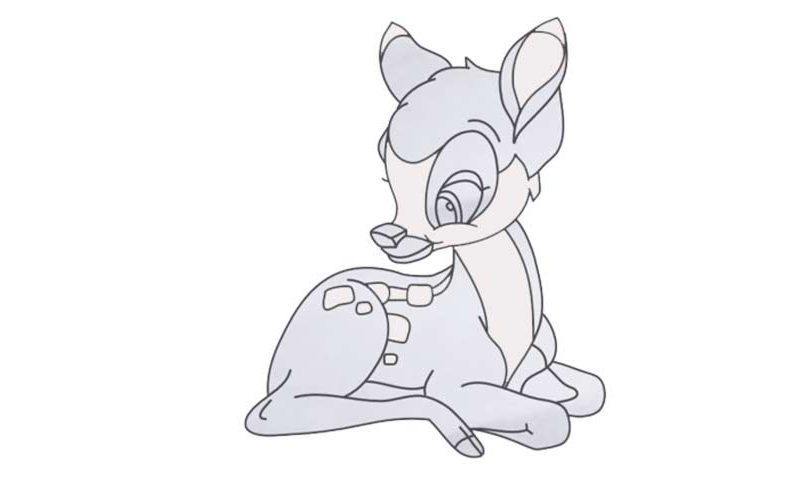
The ones at the front are very simple; still, make sure you get the lines right – follow the video for that (03 in 30 sec). After you put all the missing lines in, our hero will turn into the real thing. Note: the head in our drawing is considerably bigger than it is in the real life, but it’s a cartoon character we’re talking about, so, it’s all good!
Before you learn how to draw Bambi, did you know?
This lovely deer debuted in 1942, just when the animated movie of the same name hit the theaters. Together with his mom, dad, friends and loved one (Faline), Bambi lives in the forest and overcomes numerous obstacles in his quest to growing up and becoming an adult.