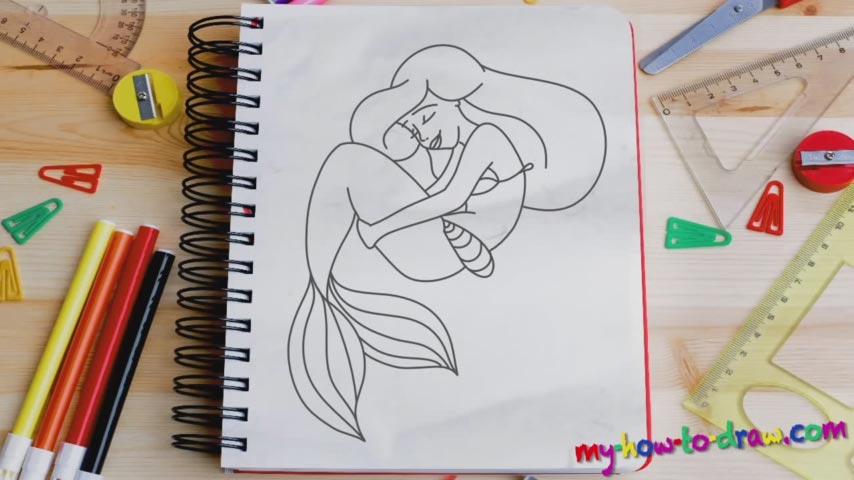
Learn How to draw Ariel The Little Mermaid Quickly & Easily!
The face is the most important part of this drawing; therefore, we start our tutorial with the nose (00 min 27 sec). The eyes come next. Use a curvy line for the head and put in the mouth in the bottom left corner (00 min 53 sec). If you’re happy with the face, move on to the next step of this how to draw Ariel The Little Mermaid tutorial – the hand (01 min 07 sec). It’s relatively easy, but its size needs to be right.
See that line that sits right on top of the hand? It’s there for the leg (01 min 53 sec). Let’s leave it at that for now and get to the hair. It takes up a lot of space but is a piece of cake in terms of difficulty. Just follow the video course and you’ll see that there’s nothing to it. So, once the hair is in place, go back to the leg (03 min 10 sec).
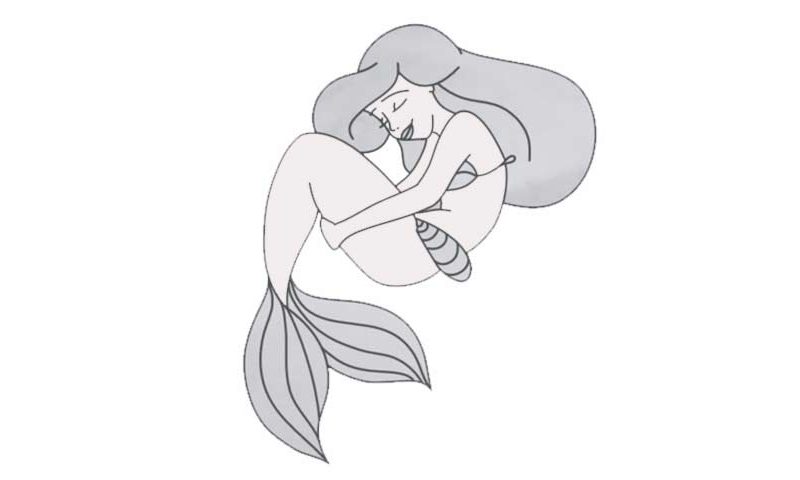
Ariel put her hand around it; make sure you get everything right. The final step of this how to draw Ariel The Little Mermaid tutorial is her tail (03 min 30 sec). It’s pretty big but easy to make. Don’t forget to add a series of straight lines inside of it just like I did in the video. And that’s it for this guide. Don’t be afraid to go over certain elements until you perfect them.
Before you learn how to draw Ariel The Little Mermaid, did you know?
When this lovely young woman was first introduced to the world (back in 1989), the boys instantly fell in love with her. She has that special something that makes men go crazy. Ariel has a good heart and is always ready to lend that helping hand.
As the daughter of an underwater king, this girl has never been able to leave home and enter the world of the humans. She knows that the surface is no place for a mermaid; still, Ariel can’t help herself from dreaming about meeting a human prince and marrying him.