Learn How to draw Angry Birds Terence Quickly & Easily!
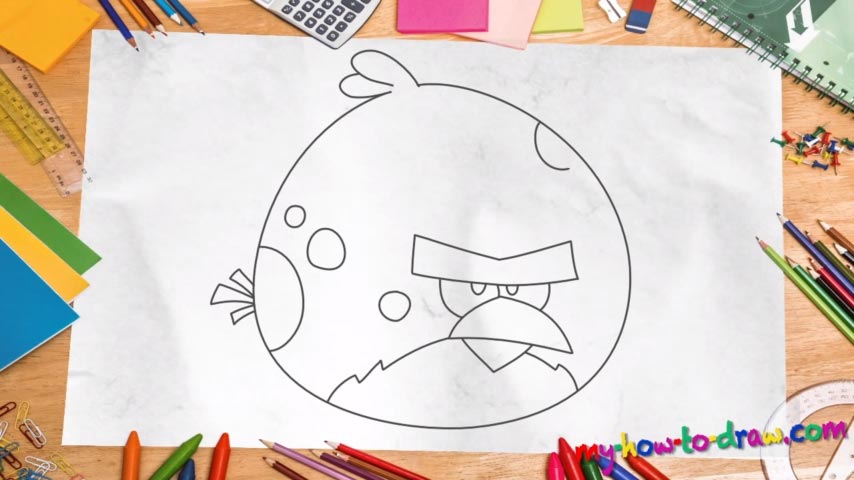
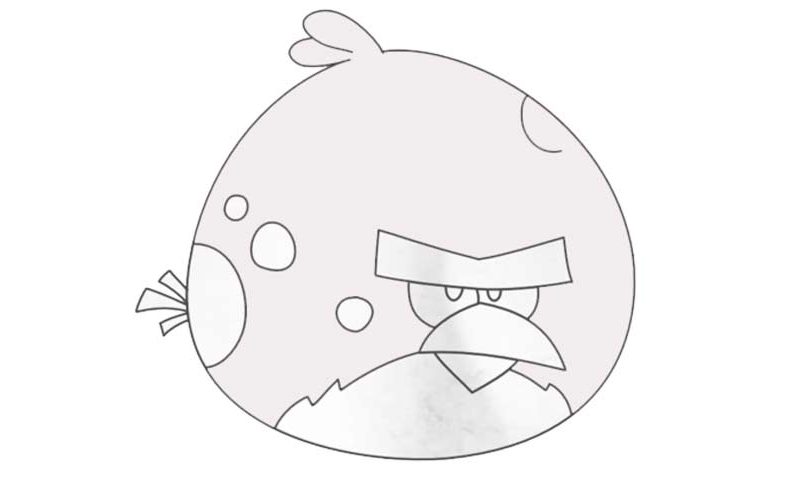
We begin this tutorial with the mighty beak. It’s made up of two similar shapes that sit on top of each other (00 min 28 sec). Now, you could think that the character is looking to the left because of the beak’s angle, but it’s actually not. And that gives this drawing a great touch. Ok, let’s proceed with the how to draw Angry Birds Terence tutorial.
Create a huge rectangular shape with a dip in the middle for the brows. The eyes come next (00 min 53 sec). They overlap with each other, which means there’s no space between them. All you’ll need to get this done is a number of lines (3 curves, to be exact) and two half-ovals for the pupils. Yes, it’s pretty easy. Once that fancy crest is in place, move on to the most important part of our how to draw Angry Birds Terence manual – the head.
Please keep in mind that it is not a perfect circle – it’s a bit “off”, actually (01 min 11 sec). But that’s exactly what we need, so, make sure your shape matches the one in the video. Wrapping up, don’t forget to add the tiny wing on the left and those cute dots (or, rather, circles) all over the bird’s body (01 min 30 sec).
Before you learn how to draw Angry Birds Terence, did you know?
Ever seen those big, strong, silent types that never go crazy and always keep their cool? Terence is exactly like that. He knows how to “work” his head and prefers to use his brains instead of those mighty muscles. The rest of the birds look like little children compared to this guy.
With the others hanging around and making noise, Terence can’t really think and/or concentrate. This bird works best on his own and likes to stick to himself. He’s got a lot of respect on the Island and every single member of the community sees a friend in him.