Learn How to draw Angry Birds – Hal Quickly & Easily!
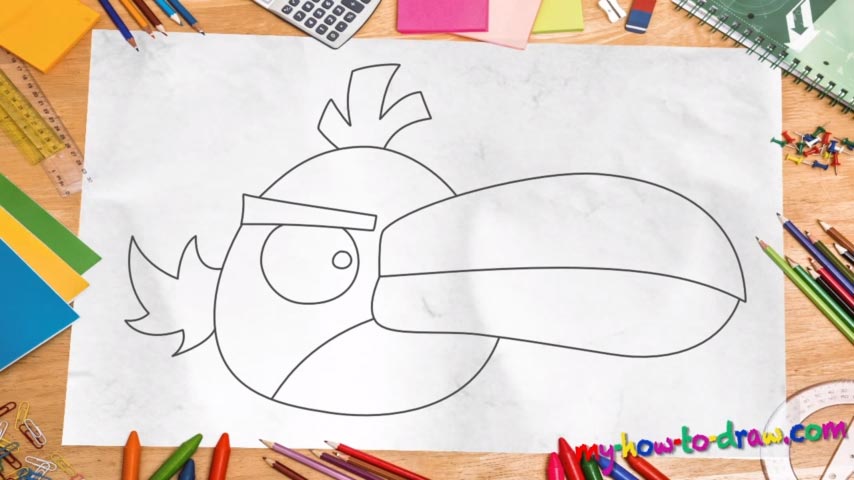
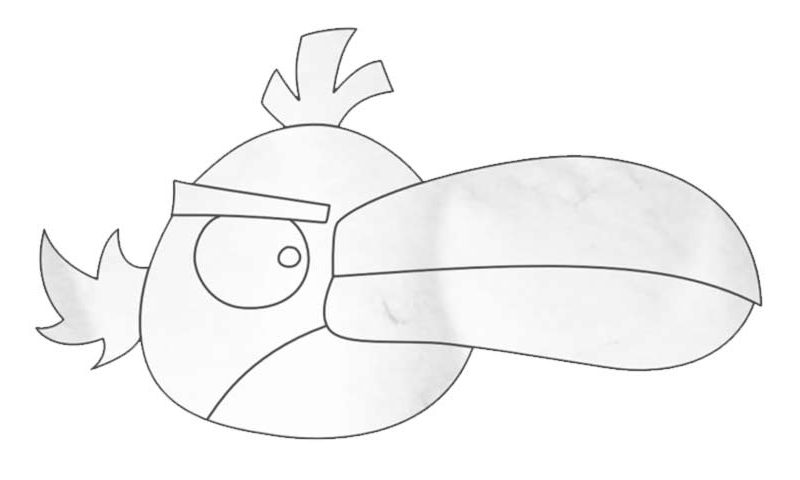
Without a doubt, this socially-active bird has the biggest nose (or, rather, beak) in the franchise. It’s what sets him apart from the rest. And, of course, we’ll begin our how to draw Angry Birds – Hal tutorial with that mighty thing (00 min 29). The upper part comes first. They both look alike, except that the lower part is a bit narrower in the beginning.
If you’re happy with that gigantic beak, move to the left and add the one and only visible eyebrow (00 min 51 sec). The most important thing here is to get the perspective right. Let the video guide you and try to create a 3D image with these two “objects”. The eye that’s located directly below the brow will cement that feeling (01 min 00 sec). Ok, now it’s time for the next stage in this how to draw Angry Birds – Hal tutorial – the head.
I recommend handling it in stages (01 min 12 sec). The upper half is easy. Then, create another curvy line that starts in the bottom left corner of the brow and completes the image of the head. If you did everything right, the head will seem a bit too…oblate. That’s exactly what we’re going for. The wing on the left and that crest on top of the birdy’s head are the final parts of this tutorial (01 min 28 sec).
Before you learn how to draw Angry Birds – Hal, did you know?
Hal is one of the rare birds that know how to make a point and are always ready to listen to what the others have to say. His exceptional social skills allow him to make friends in every single environment he ends up in, which opens up new opportunities.
At the same time, when someone starts to criticize him, this bird goes crazy and never takes it lightly. Sometimes, Hal looks and acts like a wise bird with tons of experience; other times, he abandons his ways and turns into a silly fella with a stupid smile.