Learn How to draw Angry Birds – Matilda Quickly & Easily!
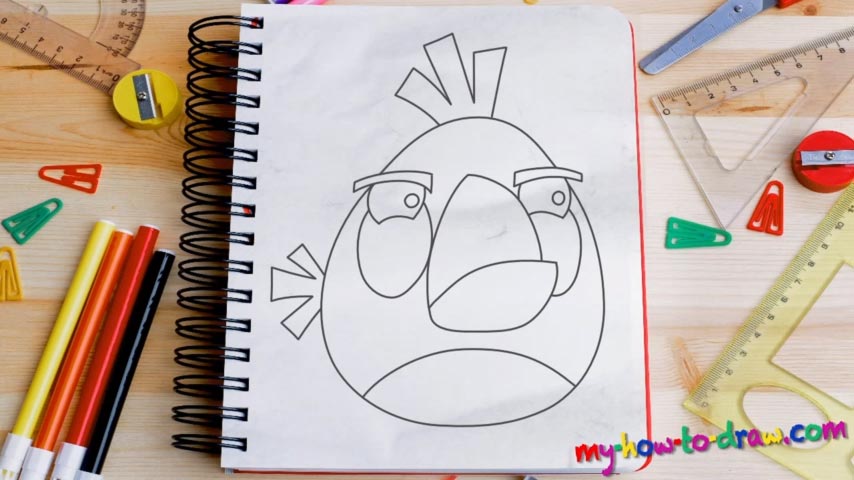
First of all, place your piece of paper right. Second, if you’ve got a favorite AB character, forget all about him/her, because today we’ll focus on this fine lady and learn how to draw Angry Birds – Matilda. She’s got a pretty huge beak that takes up a lot of space, and once you get it down, the rest will come easily (00 min 30 sec). It consists of two shapes that look like rocks (or, rather, pebbles; maybe even a nut).
The eyebrows are positioned very close to the beak and are a bit curvier (compared to the rest of the heroes of this ground-breaking franchise) (00 min 51 sec). Obviously, the eyes are below them; the right one even overlaps with the beak. Ok, now that all the facial features are in place, it’s time to draw the head (01 min 27 sec). Start your “egg” at the top of the left eyebrow, cross the right one, and use smooth curves to bring this home.
As the most important part of our how to draw Angry Birds – Matilda tutorial, it deserves extra attention. Make sure you follow the video closely. If everything looks good, add three oval shapes inside the newly-shaped head: a horizontal one at the bottom and two vertical ones below the eyes (01 min 41 sec). Finally, add the crest and the tail/wing on the left.
Before you learn how to draw Angry Birds – Matilda, did you know?
Back in the day, Matilda was one of the angriest birds on planet Earth. However, she found the necessary strength to fight her demons and turn into a completely different person. These days, she’s the master of the anger management department.
Matilda spends every single day trying to show the other birds with anger in their hearts that they need to let go of it and embrace her way of living. The local birds look at her as some sort of a mother figure and always listen to what she has to say.