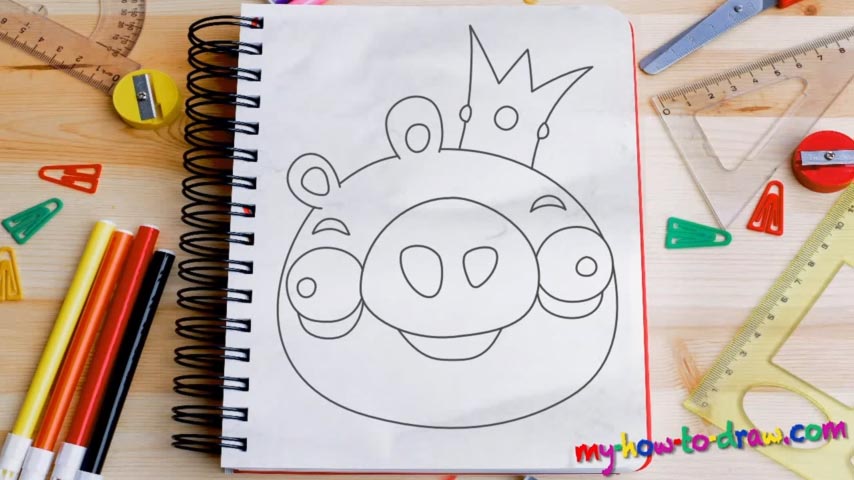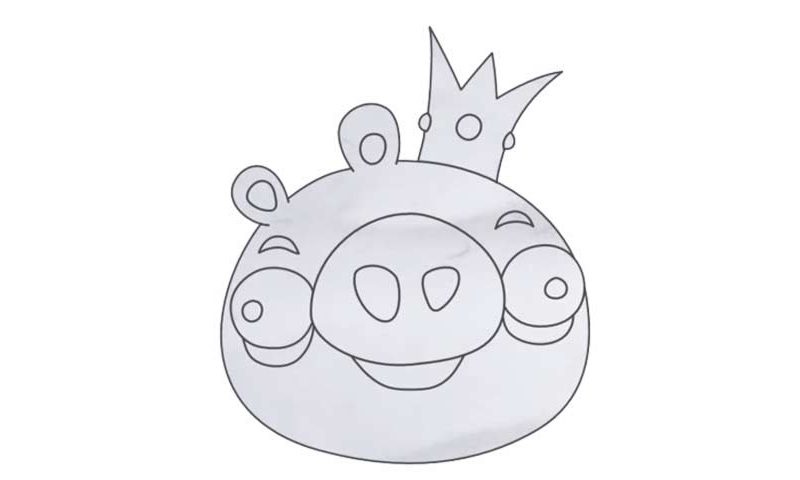
Learn How to draw Angry Birds – Bad Piggie Quickly & Easily!
The big, mighty nose that looks like a potato is the first thing we’ll add in this how to draw Angry Birds – Bad Piggie tutorial (00 min 28 sec). Don’t try to make it perfectly round – go for something like a rock. The nostrils aren’t at all in size (but they do look alike). The eyes are not positioned above the nose like they should, but rather sit on both sides of it; actually, they even overlap a bit (00 min 55 sec).
Furthermore, they look like they’re about to explode. Get the right eye first. In contrast to the nostrils, they are identical and consist of three simple shapes (two circles and one curvy line at the bottom). Same goes for the brows (01 min 27 sec). The ears are a bit “futuristic” and sit right on top of its head. Once they’re in place, move on to the next stage in this how to draw Angry Birds – Bad Piggie tutorial – the head.
Just like the nose, the head looks more like a rock or a potato rather than a super-smooth circle (01 min 56 sec). It should be pretty “narrow” and put some pressure on the eyes. If you’re happy with everything, go ahead and add that fancy crown (02 min 18 sec). It might look a bit too much, but once you learn what a piggie is all about, you’ll start to think otherwise.
Before you learn how to draw Angry Birds – Bad Piggie, did you know?
These overachieving little guys are nothing like the rest of the flock. First of all, they’re green; still, they stand out even in the middle of a jungle (which is really hard to do, by the way). Second, these creatures seem to always be in a good mood.
Partying, dancing, and having a great time – that’s what these cuties are all about. Their biggest talent is construction. That’s right: the piggies can build pretty much anything if they’ve got the right materials and the right attitude.