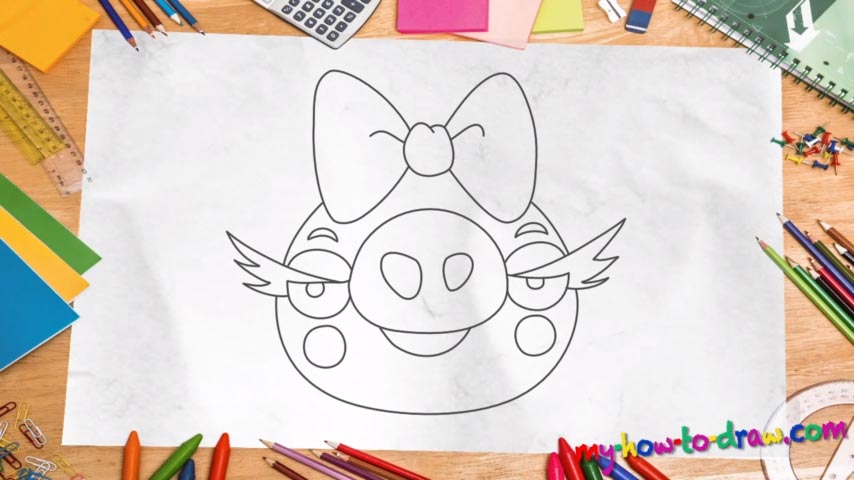
Learn How to draw Angry Birds Piggy Female Quickly & Easily!
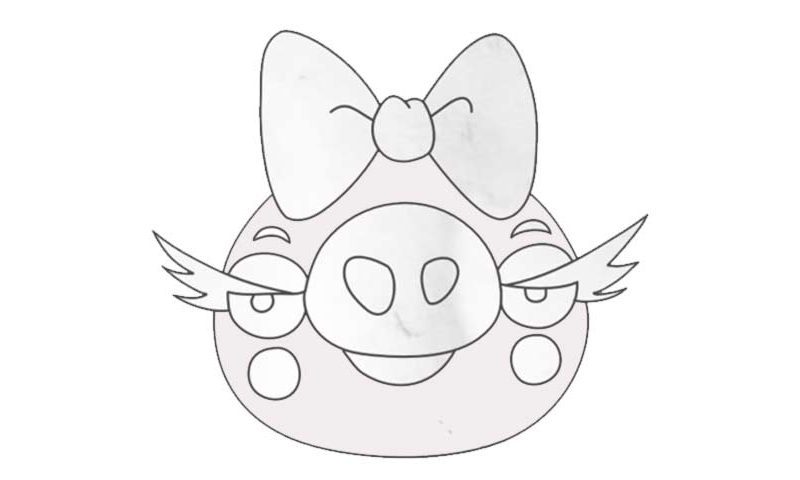
The big nose looks like a potato with two dots inside (for the nostrils), doesn’t it (00 min 27 sec)? We take care of it first and only then move on to the next stage of this how to draw Angry Birds Piggy Female tutorial – the gorgeous eyes. They are cut in half by the huge eyelashes; the parts at the bottom look like apple slices (01 min 00 sec). If they’re good, take care of the lashes (01 min 26 sec).
They are identical to each other and look more like wings, to be honest. The upper parts of the eyes are just two half-circles – nothing fancy there. Same goes for the brows: they are very simple and won’t cause you any problems (02 min 06 sec). See those circles right below the eyes? Those shapes are there for the cute cheeks (02 min 25 sec).
Ok, now we get to the brightest part of this how to draw Angry Birds Piggy Female tutorial – the huge hair bow (02 min 33 sec). Technically, it’s very easy to do. At the same time, it looks great on the Piggy’s head and makes her look all kinds of adorable. Finally, use a curvy shape to outline the character’s head (03 min 02 sec). Make sure your lines are nice, round, and smooth.
Before you learn how to draw Angry Birds Piggy Female, did you know?
This is quite a rare breed, but the female pigs do exist in this world. They are as big as the mighty male pigs and have a cute pink-colored bow on top of their heads. Plus, you’ll see tons of make-up on those dreamy eyes for those super-pretty faces.
These ladies are talented singers and the Opera Pig delivered a breath-taking performance of some of the best-known and classic Wagner cuts once. If you don’t believe us, go ahead and check it out on the Internet! Your life won’t be the same after you do that…