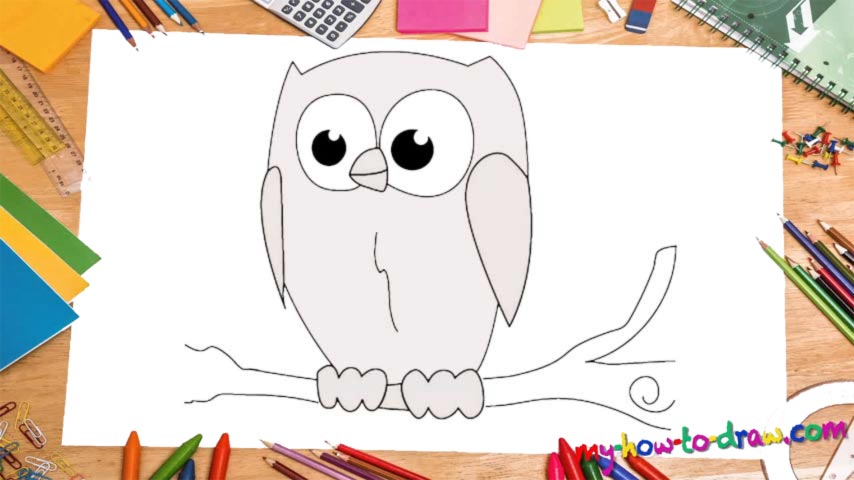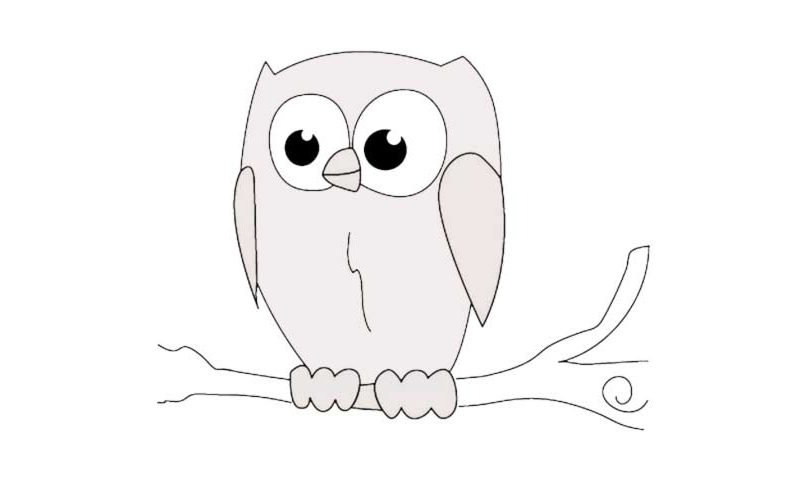
Learn How To Draw An Owl Quickly & Easily!
That cute tiny beak comes first (00 min 04 sec). The eyes quickly follow (00 min 10 sec). Put in the left eye first before moving on to the right one which is slightly bigger. The pupils – two black circles with tiny white parts in the top right corner – will already make this how to draw an Owl tutorial worth your while (00 min 20 sec). The wings are the next stage.
Again, because of the angle, the left one should be significantly smaller. To complete the head, use three simple lines just like I did in the video (00 min 30 sec). The most important thing here is the gap between the upper line and the eyes. Those identical shapes at the very bottom that look like bow-ties are actually our bird’s feet (00 min 44 sec).
Use two simple lines to complete this part of the how to draw an Owl tutorial. The zigzag-like line in the middle of the tummy will make our hero look even cuter (00 min 52 sec). The tree branch is the final thing to take care of in this guide. Don’t try to make it more sophisticated than it is. The owl should be in the center of our attention. Simply follow my drawing and you’ll be alright!
Before you learn how to draw An Owl, did you know?
If you used to be a fan of fairytales and horror movies back when you were a little kid, these birds might still put the fear of God in you. Elegant, agile, and with eyes that look directly into your soul, Owls are one of the most exciting creatures on our planet.
They are birds of prey, which means they hunt other living-breathing beings and eat them alive. Their feathers allow them to make very little noise when flying and those big, strong talons can hold down even the strongest prey. And, they’ve got binocular vision.