Learn How to draw Aladdin Quickly & Easily!
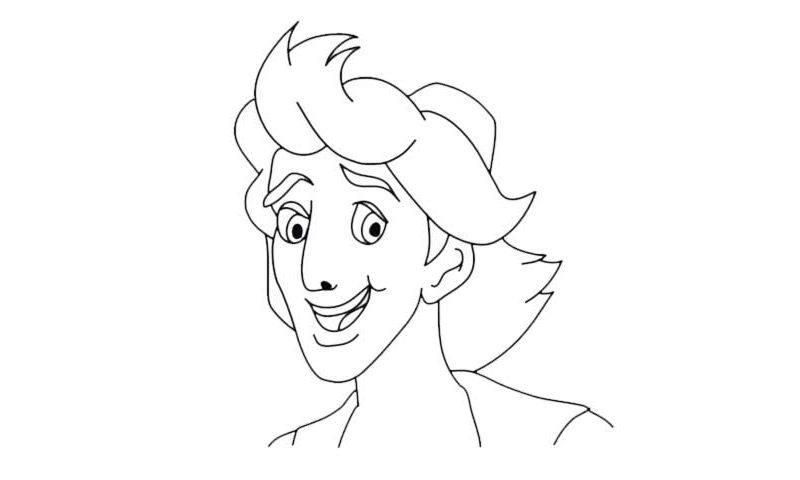
Use that curvy line to define the hero’s nose (00 min 26 sec). After you add that tiny dot for the nostril, move on to the left eye (00 min 48 sec). The right one is pretty much identical (01 min 45 sec). If you really want to learn how to draw Aladdin, pay extra attention to the eyes, because they are capable of making it or breaking it for you.
The eyebrows are nice and big, just like they should be on a cartoon character (01 min 47 sec). They have some tiny differences and are not the same, even though they might not look that way at first. If everything is good, use a big curvy line that starts at the bottom of the left eye and ends at the same level as the nostril (on the right side, of course). The next stage of our how to draw Aladdin tutorial is, of course, his hair (02 min 28 sec).
It’s made up of several meaningless lines that, connected to each other, form his lush hair. There’s nothing hard about this – follow the video closely and you’ll nail it! The right ear (the only visible one) is the next step (03 min 25 sec). The mouth consists of several curvy lines on top of each other; don’t forget about the chin right below it (04 min 15 sec). Once that’s done, add some more hair here and there and some basic outlines for the upper body (04 min 46 sec).
Before you learn how to draw Aladdin, did you know?
This guy needs no introductions. As far as the most popular and recognizable characters from fairytales go, this young man is right there among the top-3. He’s got a passionate heart and a brave soul, which allows him to confront the biggest villains and stay alive.
Together with the blue genie, he travels the world searching for his true fate. There’s a gorgeous girl out there that our hero can’t live without, but it’s not that easy to win her heart. So, in order to impress her, he gets himself into all kinds of trouble. Love makes us do crazy things…
