Learn How To Draw A Whale Quickly & Easily!
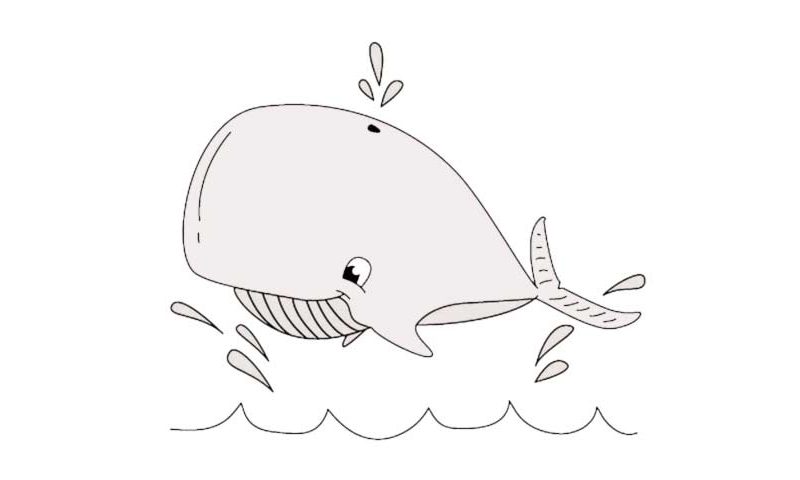
Our video guide starts with the sea king’s head that looks a lot like a reversed number “9” (00 min 04 sec). Noticed that fancy tail (00 min 08 sec)? It’s the next step in our how to draw a Whale tutorial. It consists of two similar yet opposite parts. The mouth begins with a nice curve right below the head (00 min 15 sec). Use two simple curves to “lock” the right side and complete the whale’s body from the outside.
The rest has to do with the facial features and the details all over this lovely creature. The one and the only visible eye is very straightforward: you’ll need two curves and one black pupil with a little bit of white to complete it (00 min 40 sec). If everything looks good, go back to the mouth and finish it with a series of similar vertical lines (00 min 52 sec).
Now we get to the final stage in this how to draw a Whale tutorial. See that tiny dot in the top corner? It’s a part of this beast’s breathing system – it won’t be able to survive without it (01 min 02 sec). The final thing to do is to add a series of water drops all over the place. And don’t forget about that wave at the very bottom.
Before you learn how to draw A Whale, did you know?
As one of the most amazing creatures on our planet, the whales have always been an object of interest for us, the human beings. Besides, back in the day, they were the biggest prey for the pirates and the professional hunters. We used their bones, meat, and blubber to survive.
The whales never leave the sea: they kill, eat, give birth, and do everything else in between in the sea. By the way, speaking of sizes, the blue whale is officially the largest living organism to ever live and can reach 30 meters long and weigh 190 metric tons!
