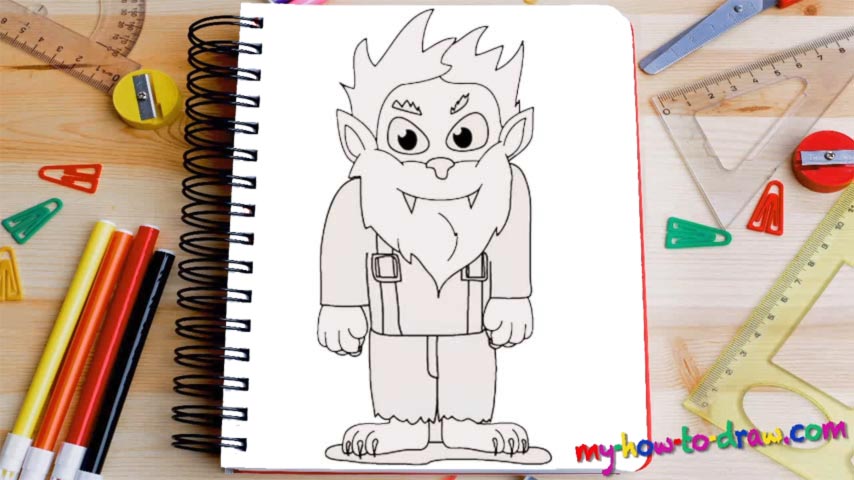
Learn How To Draw A Werewolf Quickly & Easily!
True, this guy looks more like an old man with scary teeth and claws, but he’s still a lethal killer :). We begin this how to draw a Werewolf tutorial with the main facial features – the eyes, the nose and the mouth (00 min 05 sec). The tiny brows, the lines under the eyes and the fluffy beard come next (00 min 08 sec). The ears should be pointy and sharp to accentuate the fact that this is, indeed, a beast.
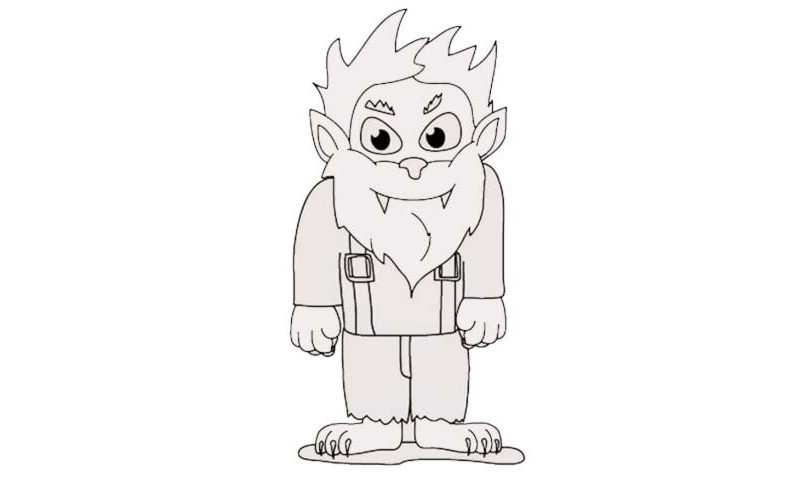
For the hair, you’ll need two zigzag-like shapes that look almost the same (00 min 16 sec). Follow the video closely and try to match what I’ve got on my piece of paper. The fingers are the next part of our how to draw a Werewolf tutorial (00 min 20 sec). Once the hands, the shoulders, and the shirt (and the teeth) are on, you’ll be pretty much done with the upper half of this drawing. Now it’s time for us to take care of the legs.
The character has three claws on each foot (00 min 28 sec). The pants are pretty short, though. The feet are identical and you’ll be done with them in no time (00 min 32 sec). The proportions are the most important thing here. Finally, before saying goodbye, add the buckles (00 min 40 sec). And don’t forget about the black eyes!
Before you learn how to draw A Werewolf, did you know?
In case you didn’t know, these beasts are half human, half wolf. And while during the day they look and act normal, when the sun goes down and the moon rises, they turn into brutal monsters that tear through anything that stands in their way, including the innocents.
The vampires are their biggest rivals – have been for many centuries. Usually, people turn into werewolves from a beast’s bite. On one hand, it gives the victim incredible powers and abilities; on the other, it’s almost impossible to control the urge and “tame” the wolf.