Learn How to draw A Turkey Quickly & Easily!
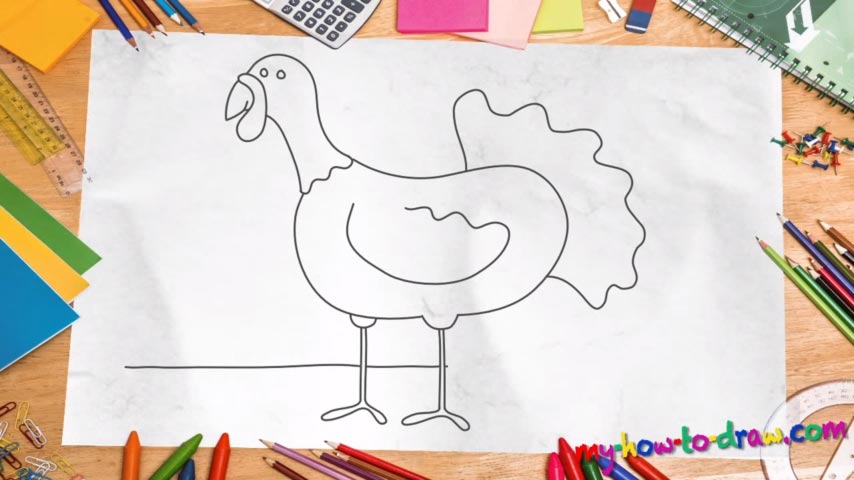
Looks easy enough, right? That’s the beauty of our collection: every single person can find something that fits his/her skills. After this video tutorial, you’ll learn how to draw a Turkey and maybe even open yourself up to new techniques. The most important thing is to keep the proportions and make sure the lines are nice and smooth. We start with that impressive beak (00 min 30 sec).
It consists of two simple shapes. Once it’s done, use a curve that looks a lot like a question mark for the birdy’s head. Another line just below it will help you complete the neck. For the eyes, you’ll only need two tiny circles right next to each other (00 min 54 sec). That’s it for the head; “close” it with a zigzaggy line like I did in the video. The body is a huge oval-like shape that covers the middle of the paper (01 min 05 sec).
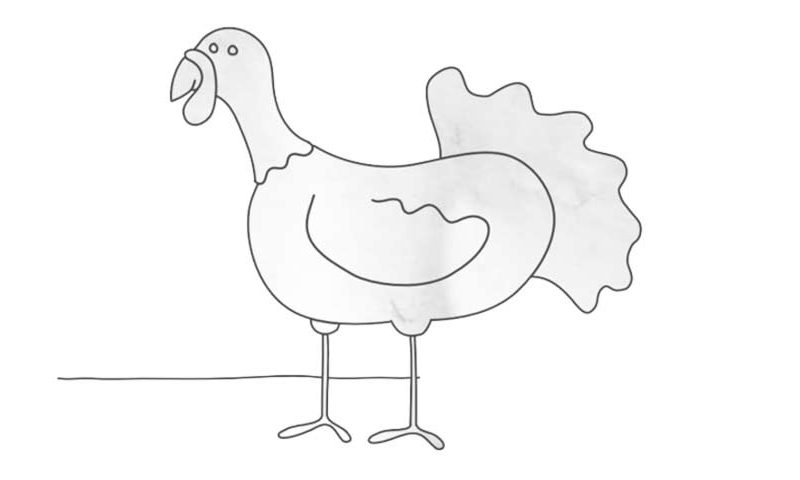
That grandiose fluffy tail is the next step in this how to draw a Turkey tutorial (01 min 24 sec). If it looks good, draw the wing inside that oval we just put in and move on to the legs (01 min 44 sec). They are practically the same, but I recommend introducing tiny differences to make them look more realistic. Ok, that concludes our video guide!
Before you learn how to draw A Turkey, did you know?
These big birds are especially loved and cherished by the folks in the United States: they eat turkeys on special occasions, like, say, Thanksgiving. It’s a centuries-old tradition and represents the very essence of the good-old US spirit.
Turkeys are only found on the American continent – from Mexico all the way up to Canada. As in most cases, the males are much bigger, stronger and brighter (or, rather, colorful) than the females. At the same time, they both taste really good!