Learn How To Draw A ‘Thank You’ Card – Fun Lettering Quickly & Easily!
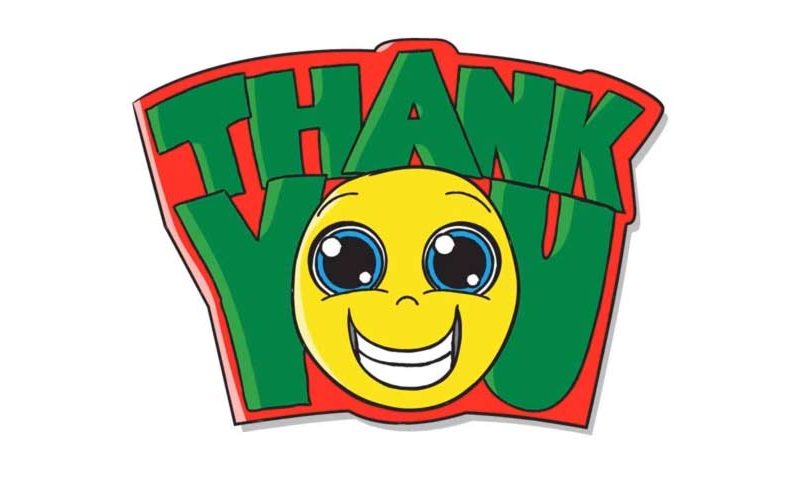
Use light strokes to draw four simple lines – they’ll serve as your guides along the way (00 min 42 sec). Draw a curvy line right below the top – make sure to leave plenty of room for the “You” (01 min 12 sec). Next, create a circle right in the middle of the composition – it will be the foundation of the “O” slash funny face in this how to draw a ‘Thank You’ card tutorial (01 min 24 sec).
The eyes are the most in-your-face part of this drawing, so, take your time with them (01 min 37 sec). Happy with the glowing eyes? Then it’s time to draw the nose (just one cute curve) and move on to the mouth (03 min 21 sec). Think of it as some kind of a reversed moon that’s divided in the middle.The letters “Y” and “U” are “squeezing” that smiling face, and you should try to depict that (04 min 10 sec).
This is probably the most important part in our how to draw a ‘Thank You’ card manual. As for the “Thank” at the top, we recommend starting with the “A” in the middle (05 min 12 sec). That will give you a great perspective on things. This isn’t a super-strict rule, and you can start wherever you want. It’s just that it will be easier this way.
The rest is up to you. We’d proceed with the “T” next. Once you’re done with all the letters, you should draw a simple shape around the whole thing as a background (08 min 08 sec). Obviously, it would be great to get rid of the light strokes (08 min 17 sec). Like our colors? Then please, do copy the mixture. If not, try to come up with something more exciting :).
Before you learn how to draw A ‘Thank You’ Card did you know?
Show someone how much you appreciate them by drawing this big fat ‘THANK YOU’ on a card, poster or anywhere else. Watch the video and follow the strokes to learn how to draw a ‘THANK YOU’ card in cool lettering quickly and easily.
As mentioned in the beginning, a card like that one will help you surprise a person you love and/or care about. Be sure to check out some of the other tutorials on the site too. We promise – there are tons of awesome drawings waiting for you to master. Dragons, beasts, heroes, villains, cars, and modern-day pop icons – you’ll find it all right here!
