Learn How To Draw A Squirrel Quickly & Easily!
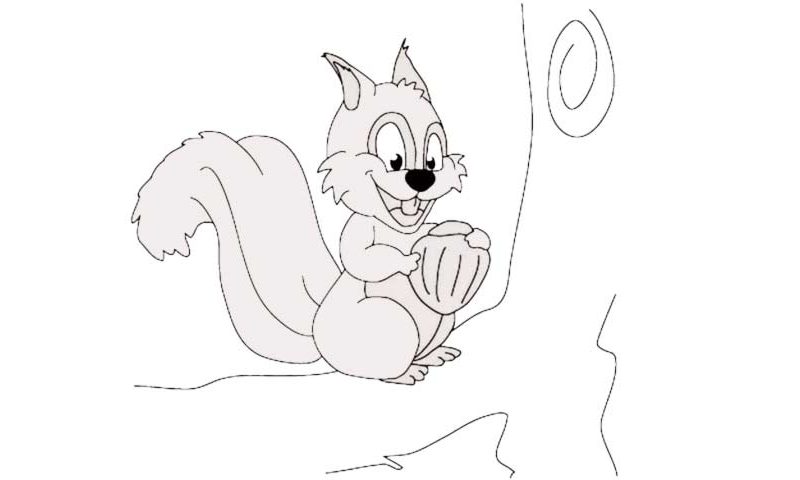
Let’s get right to it and start with the tiny black nose (00 min 04 sec). The eyes, two similar-looking oval shapes of different sizes, come next (00 min 15 sec). The pupils are located at the very bottom. The next step in this how to draw a Squirrel tutorial are the fluffy cheeks (00 min 25 sec). They are also identical – use zigzag-like lines for them.
If you’re happy with the results so far, move further up the head and add the long and cute ears (00 min 40 sec). Once you connect them to each other, the upper half of the head will be complete. The mouth has only one tooth – put it in before moving to the body (00 min 58 sec). Create a C-like curve for the hand (01 min 15 sec). The fingers are primitive. Same goes for the right hand. The nut is the next stage in this how to draw a Squirrel tutorial (01 min 37 sec).
The hook-like curve that begins at the bottom of the left hand is there for the leg (01 min 50 sec). It might look too big right now, but after you add the rest, it will all fall into place. The feet look exactly the same and come with three fingers each. As for the tail, it’s as tall as the squirrel itself (02 min 07 sec)! You’ve got smooth curves at the beginning and “fluffiness” at the end. The tree branch is the last step (02 min 25 sec).
Before you learn how to draw A Squirrel, did you know?
What can be cuter than a tiny squirrel running around in your backyard? These creatures are extremely flexible, agile, and have a mighty set of brains. That big tail helps them balance their movements and serves as some sort of a “parachute” when falling down from a high tree.
If you’ve ever seen a squirrel in action, then you already know that these rodents are super-fast and their calculations are always 100% right (which means they never fall in the middle of a jump). These brutes have a strong presence in our culture, especially the fairytales.
