Learn How To Draw A Shark Quickly & Easily!
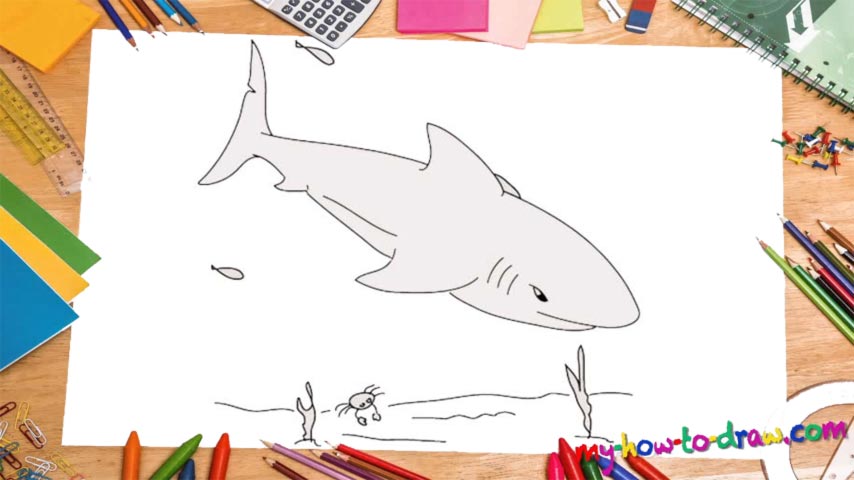
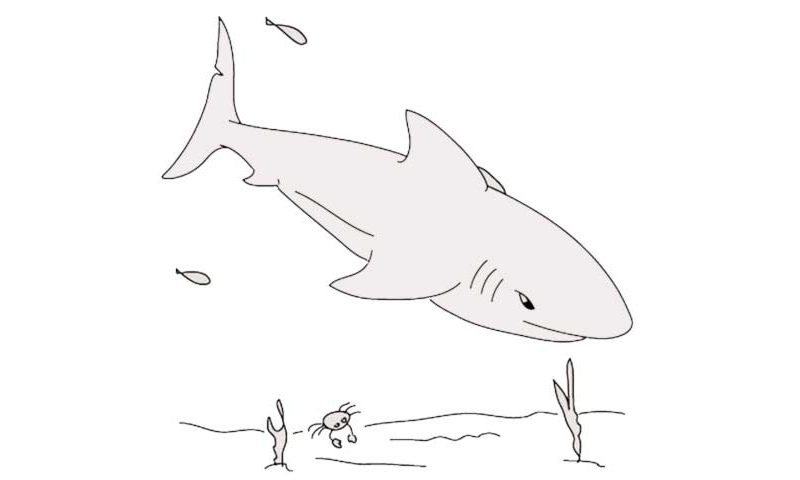
We begin this drawing with the beast’s head that looks like a warhead or a missile (00 min 05 sec). It should be nice and smooth, just like the rest of this how to draw a Shark tutorial. The right wing comes next (00 min 08 sec). The one on the left is identical, and they both look something like a guitar pick. For the body, use long, straight lines – don’t go for anything that’s too curvy (00 min 12 sec).
The tail is the same on both sides, except that there’s a tiny “dip” in the upper half (00 min 16 sec). Make sure the size matches the one in my video guide; otherwise, you’ll ruin the overall vibe. There’s nothing to the tail – it’s as simple as they come. Ok, now we get back to the head and make our way to the left to complete the body (00 min 30 sec). Use a curvy line and start at the exact same spot as me to create the mouth.
The rest of the body is the final stage of this how to draw a Shark tutorial (00 min 35 sec). Don’t forget about the small wing closer to the tail. See that small-yet-angry eye (00 min 55 sec)? Get to it next and add three identical stripes right next to it. The plants and the crab are there to make this drawing more realistic (01 min 10 sec).
Before you learn how to draw A Shark, did you know?
The scientists and the biologists are calling sharks the deadliest underwater creatures. With incredible flexibility, speed, and acceleration, they can catch up to their prey in a matter of seconds. If you end up alone with a shark in the middle of an ocean, you’ll be doomed.
Obviously, they are not the biggest or even strongest “citizens” of the seas, but they are the greatest predators and aren’t afraid to take on the whales. Besides, the sharks are very popular in mass culture and are frequent guests in all kinds of horror movies.