Learn How to draw A Rabbit Quickly & Easily!
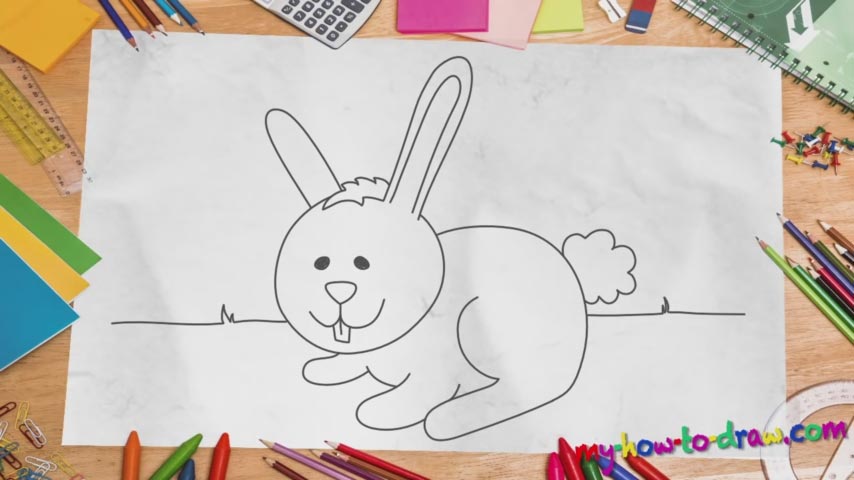
Do you know what the most important part of a rabbit is? The ears, of course! That is exactly why we start this how to draw a Rabbit tutorial with the left one (00 min 28 sec). All you’ll need are two identical shapes of different sizes that look like a clip. After you put that fluffy hair right next to the ear, go ahead and draw a big circle for the head (00 min 59 sec).
It should be nice and round, but not a perfect circle. The facial features come next (01 min 12 sec). The nose is connected to the lower jaw and the mouth (or, rather, the one and only big tooth). See those tiny circles right above it? They are the rabbit’s eyes (01 min 28 sec). You don’t even need to add any eyebrows – just color them black and that’s it.
Ok, now that the head is completed, let’s move on to the next step in this how to draw a Rabbit tutorial – the body (01 min 41 sec). The big rear leg comes first. Then, use a curvy line and merge it with the head and form the back of the body. Once that’s done, go ahead and draw the front legs (01 min 57 sec). The final part is that fluffy tail (02 min 10 sec). It’s actually the easiest part of this tutorial.
Before you learn how to draw A Rabbit, did you know?
Rabbits are tiny, fluffy, and pretty much defenseless against the majority of predators out there in the woods. At the same time, they’ve been surviving for hundreds of years (if not thousands) and keep on living against all odds.
Rabbits are quite popular as pets, especially among little girls. The wolves, the foxes, and many other bigger and stronger animals hunt down these lovely bunnies. But they use speed, flexibility and exceptional hiding techniques to outmaneuver their enemies.