Learn How to draw A Puppy Quickly & Easily!
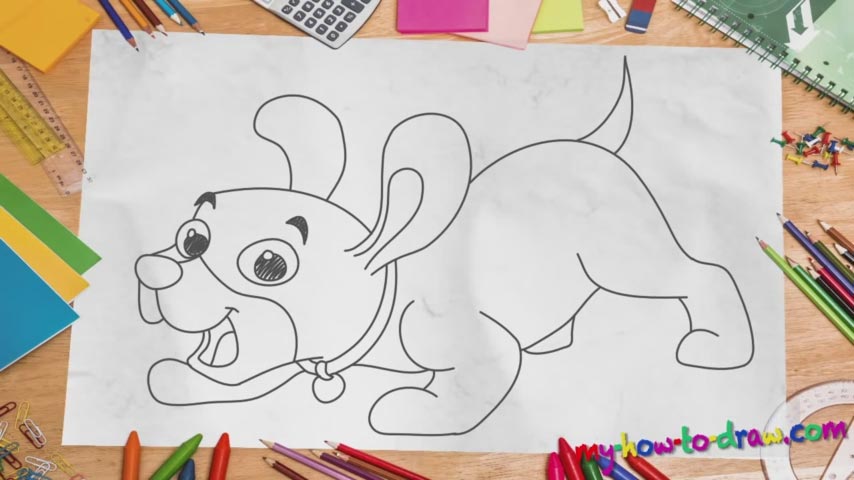
Don’t let those eyes fool you: this is quite a “serious” drawing and will require some dedication and skills. You won’t be able to pull it off if you treat this how to draw a Puppy tutorial like it’s a piece of cake. As always, we begin with the nose (00 min 27 sec). Next, use two curvy lines for the upper jaw. That S-like curve and the simpler ones right below it will shape the mouth and the lower jaw (00 min 40 sec).
If you’re happy with everything so far, go back to the nose and add the left eye that sits right above it (00 min 59 sec). The right one is significantly bigger but looks the same. The brows are quite simple. So are the ears (01 min 30 sec). Even though they are huge, the shapes are primitive. That tiny collar will allow you to connect the right ear to the bottom of the jaw and be done with the head.
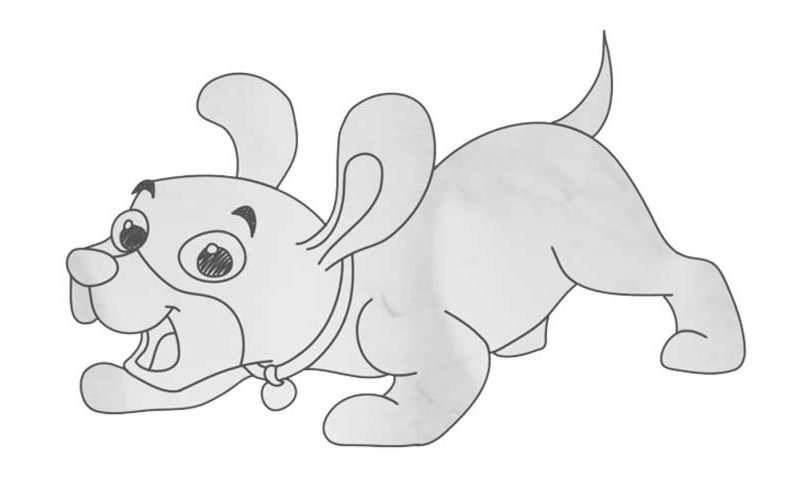
The next part of this how to draw a Puppy tutorial is the body. It’s a lot less “crowded” than the head (02 min 17 sec). The front leg is pretty close to the dog’s head and almost touches the bottom of the paper. It’s important to get its size right. Use the ears as your guide. That curvy line that starts at the right one and reaches the back leg will complete this drawing (02 min 32 sec). The tail is the final stage (02 min 53 sec).
Before you learn how to draw A Puppy, did you know?
If you owned a puppy back when you were a little kid, then we don’t need to explain what it feels like to have a loyal four-legged friend at your side 24/7. Puppies are among the most popular pets in the modern-day world and have a strong presence in mass media.
We’ve got numerous cartoons, animated movies, TV series, books, and even theatrical performances featuring these adorable little things. Have you ever heard the expression “A dog is a man’s best friend”? That’s the truth!