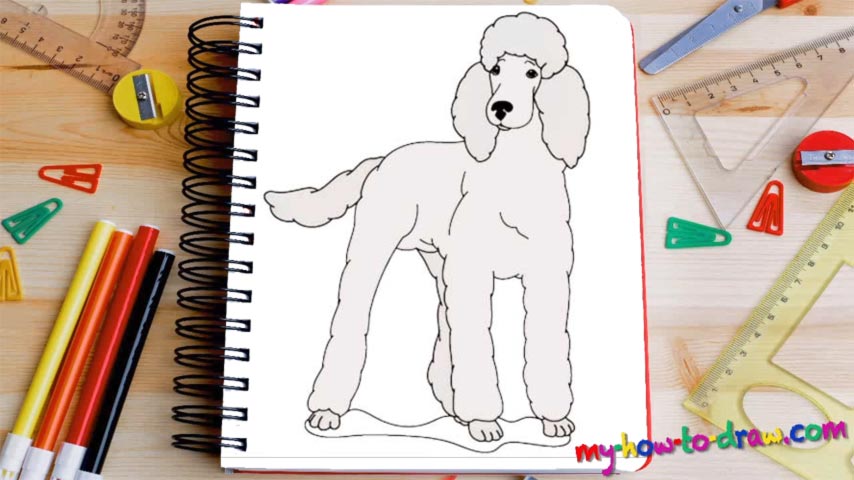
Learn How To Draw A Poodle Quickly & Easily!
Let’s start with the dog’s mug (00 min 05 sec). You’ve got the nose and the lower jaw coming first. That fancy hair on top of its head follows (00 min 08 sec). And once you put the eyes and the brows in, the intro to this how to draw a Poodle tutorial will be pretty much done (00 min 12 sec). Now it’s time to take care of the rest of the hair that comes down from the sides (00 min 20 sec).
Make sure you use zigzag-like lines to accentuate the fluffiness of it all. Ok, now we move on to the body (00 min 28 sec). I recommend using a couple of simple lines to define the upper part before moving on. Use two curvy (and, again, fluffy) lines for that. If everything looks good and you’re happy with the proportions, draw three legs – two for the front, and one for the back (00 min 30 sec).
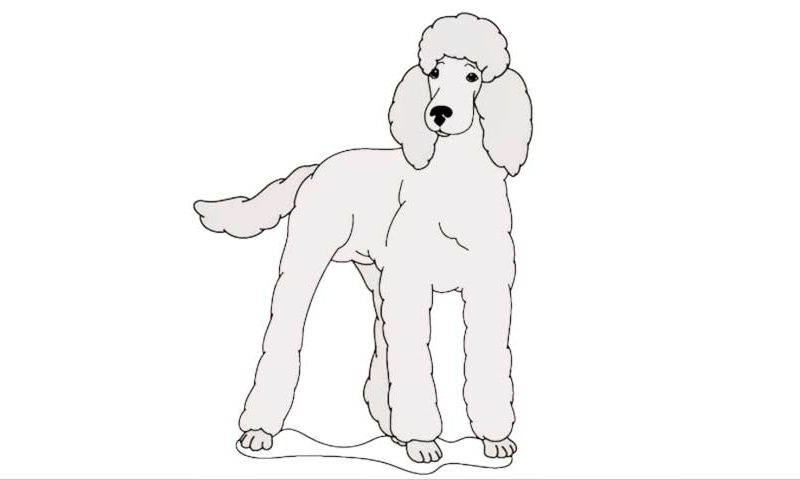
The last one will follow soon. After you add the tail, you’ll be almost done with this how to draw a Poodle tutorial. It looks exactly like the hair on the dog’s head (00 min 35 sec). The rear left leg is “hiding” behind the rest of them and you can only see the half of it (00 min 40 sec). The poodle has four toes on each foot – add them next and complete this drawing!
Before you learn how to draw A Poodle, did you know?
Tall, eccentric, and with that royal blood rushing through their veins, these dogs are the heroes of numerous TV series, movies, and books. Their lifespan is 12-15 years, which is average for the kind, and their height ranges from 25cm (the “Toy” species) all the way up to 60cm (the “Standard” Poodles).
By the way, did you know that this species is known as one of the smartest (the exact word is intelligent) breeds out there? That’s true, so, don’t be surprised the next time you see a poodle do something extraordinary. It’s always been in their blood!