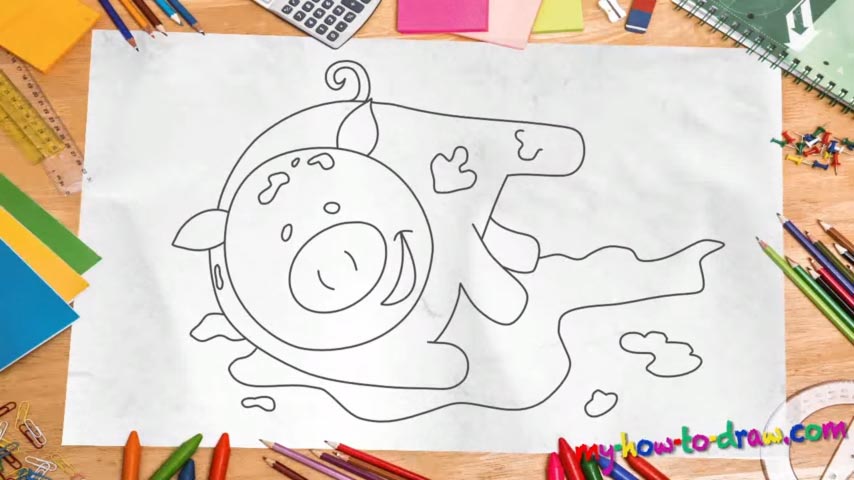
Learn How to draw A Pig Quickly & Easily!
First of all, we’ll need to create a nice, round circle in the left corner of the paper for the piggy’s head (00 min 27 sec). Next, draw an oval shape inside for the big nose (00 min 37 sec). Once those are in place, you can go on with this how to draw a Pig tutorial and add the rest of the facial features, including the nostrils (two simple lines), the eyes (a couple of tiny circles) and the mouth (a shape that looks like a banana with an arrow tip at the end).
The identical ears are the next step (00 min 57 sec). Make sure you place them exactly where they belong. Ok, now it’s time to get to the body. For this, you’ll need a curvy line and a regular one. Start at the left ear and gradually move to the right. Use the video as your guide and draw the legs just like I did (01 min 12 sec). There’s nothing to it: all the legs are extremely simple and will be done in a matter of minutes, if not seconds.
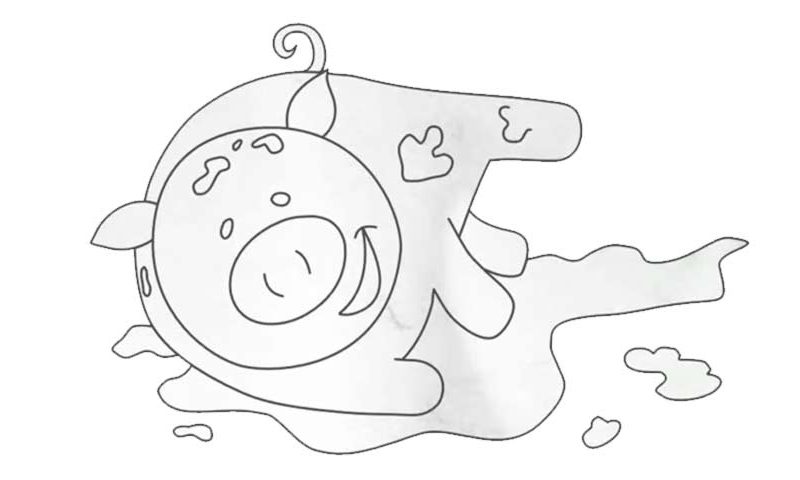
The next stage of this how to draw a Pig tutorial is the tail (01 min 35 sec). It’s also quite simple and looks a bit like the infinity sign. Finally, go ahead and add all the dirt that our hero is enjoying itself in. You don’t have to be super-accurate about it. Just make it look believable and don’t forget to leave a couple of dirt marks on the pig itself.
Before you learn how to draw A Pig, did you know?
Pigs and piglets are common characters in movies, TV shows, and, of course, cartoons. We’ve got one too many to count, and it’s safe to say that the audience loves them. Sometimes greedy and evil, other times kind-hearted and funny, they always stand out.
Pigs are filthy creatures and love to hang out in the dirt, just like you can see in the drawing that we picked for this tutorial. However, there’s a scientific explanation to this: they do it to get rid of the bugs and the vermin. Maybe they also like it a bit :).