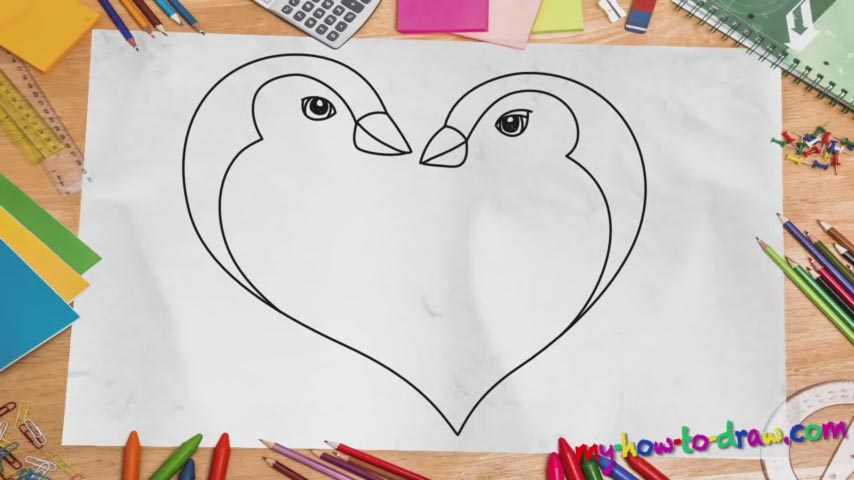
Learn How to draw A Penguin Love Heart Quickly & Easily!
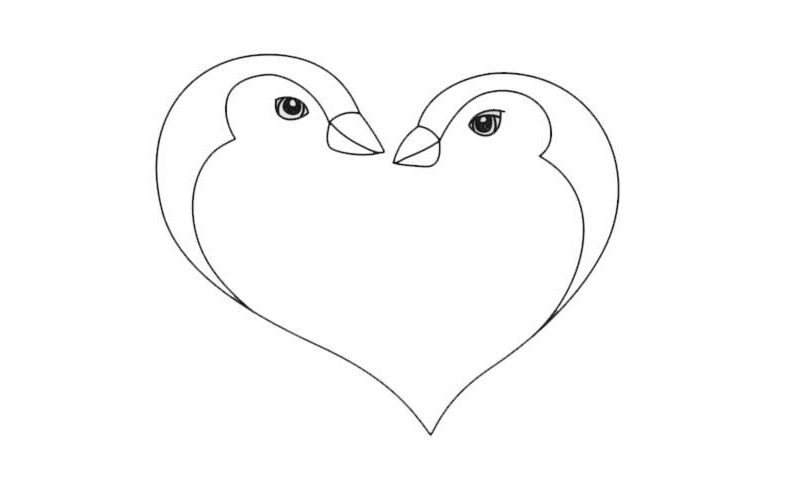
Pick up a piece of paper that matches mine in size. Use dark strokes and start drawing at exactly the right spot. And, if you find yourself struggling with a certain part, rewind the video and try again until you nail it. We begin this how to draw a Penguin Love Heart tutorial on the left side (00 min 28 sec). Create the beak before you move on to the main body.
If everything’s ok, create an S-like shape that looks a lot like a question mark (00 min 40 sec). The eye comes next. It’s very simple and won’t cause you any problems. Now, before you get to the second penguin, don’t forget to add a curvy line exactly like I did in the video guide (01 min 04 sec). It starts in the middle of the beak and ends approximately in the middle of the heart’s left side. Nothing hard about that – just keep the proportions right.
The next (and also the final) stage of this how to draw a Penguin Love Heart tutorial is the right half (01 min 17 sec). It actually looks exactly like the one we just did, which means you’ll be able to finish it in no time. However, please keep in mind that it’s a tiny bit smaller and the shape of the heart isn’t perfect. If you don’t like that, just go ahead and make both penguins look 100% identical.
Before you learn how to draw A Penguin Love Heart, did you know?
What do you know about penguins? For example, did you know that they walk funny, prefer to travel in groups and know how to survive the harshest environments out there? That’s more than enough information to realize that they are quite fascinating and deserve recognition!
That is exactly why we decided to create this video guide for you. This composition is extremely simple, but the message is strong. Go ahead and work on your skills until you perfect every single part of this beautiful thing.