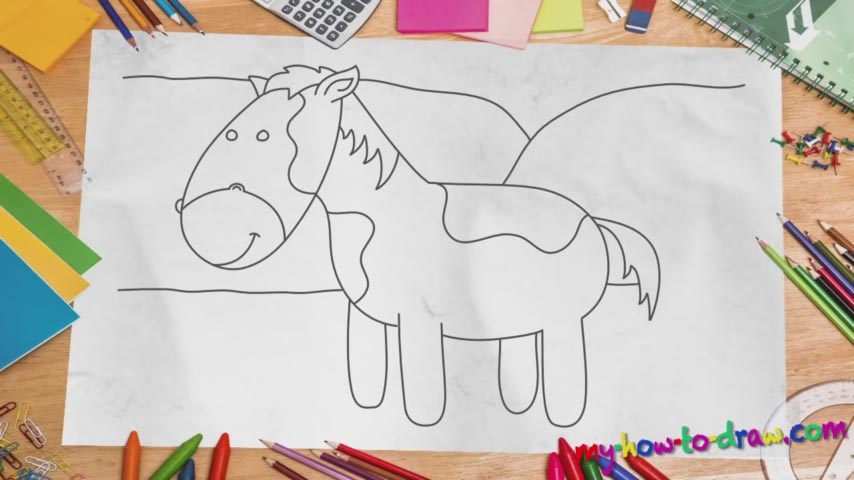
Learn How to draw A Horse Quickly & Easily!
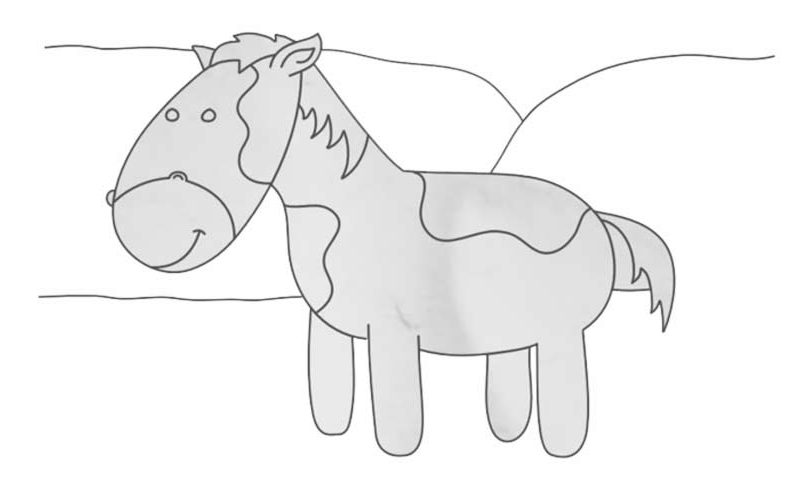
Yes, our horse looks more like a pony from a cartoon, but that actually makes it pretty cool. Some would say it’s a more simplified edition and would be right. We usually start with the eyes or the nose, but in this how to draw a Horse tutorial, we begin with the right ear (00 min 27 sec). Once it’s in place, along with the fluffy hair, use a huge curvy shape that looks like something between an egg and a watermelon for the head (00 min 48 sec).
Those dots are the nostrils; the simple line that starts at the bottom is the mouth. As for the tiny circles located right next to each other, they are our animal’s eyes (01 min 17 sec). After you add the left ear, move on to the body. Use a combination of a straight line and a curvy one for the neck and the back (01 min 31 sec). The following stage of our how to draw a Horse tutorial – the legs – are pretty straightforward.
All you’ll need is four primitive shapes that are slightly different in size but generally look the same. The tail is extremely fluffy (02 min 15 sec). The last step is the lines all over the horse’s body that accentuate the different color patterns. We didn’t paint it; obviously, you can go ahead and do that! But only after you draw the lines that emulate a simple (03 min 05 sec). Again, you are more than welcome to work on that, but our tutorial is done!
Before you learn how to draw A Horse, did you know?
Have you ever had a chance to ride a horse? These wonderful creatures are equally noble, beautiful, and free-spirited. We have been using them in our daily routine for many centuries. Horses are great in combat (they run fast and can kill the meanest warriors using the front legs) and participate in all kinds of contests.
For the sake of this website, we decided to pick a rather simple image of a horse so that we can all achieve solid results without having to practice for days and/or months. At the same time, it looks awesome and will be an amazing addition to your collection!