Learn How To Draw A Giant Diamond Sword – Minecraft Quickly & Easily!
The sword looks mighty and all, but when it comes to drawing, there’s nothing hard about it. If you follow our tips and guidelines, you’ll learn how to draw a giant Diamond Sword pretty fast. Begin with creating the guides using light strokes (00 min 18 sec). Don’t worry – we’ll erase them later, but for now, we’ll need them to keep the proportions right.
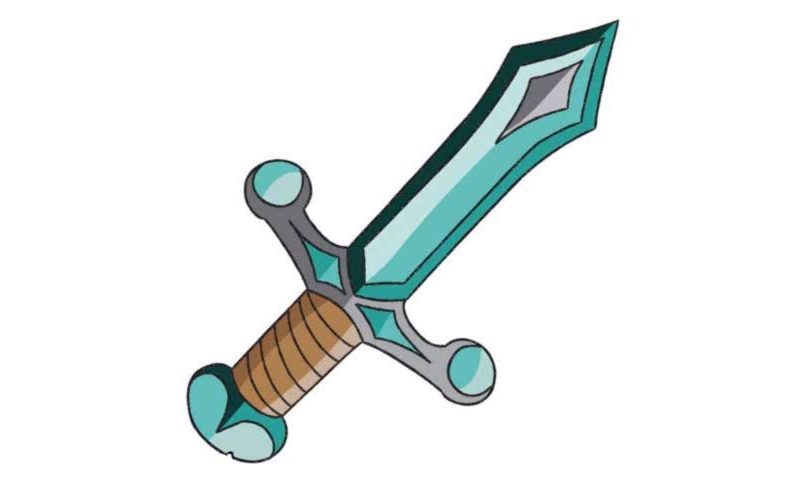
With that said, all you have to do is draw two overlapping shapes that already look like a sword. Once you’re done with that, add the curvy details on both sides and go from there (00 min 32 sec). Happy with this part? Then it’s time to go to the very bottom and draw the handle (01 min 06 sec). The trick with the upper part of the sword is to follow the guide we made in the beginning but make both lines wider at the tip (01 min 28 sec).
After you add the cone-like part at the end, you’ll have a solid weapon in your hands (01 min 38 sec). We could finish our how to draw a Giant Diamond Sword tutorial right here, but there are still some details to add. The triangle-like shapes on the handle and the top of the sword will make it look way cooler (02 min 08 sec). Don’t forget to get rid of the guides at the very end (03 min 05 sec).
Before you learn how to draw a Giant Diamond Sword, did you know?
The Diamond Sword is, by the way, the greatest weapon in the incredibly-popular video game – Minecraft. Folks use it to attack each other and be victorious. Plus, it’s pretty great for cutting the local coconuts.
Obviously, you can also block the enemy’s attacks with this weapon, but it’s mainly used to crush the opponents. If you’re a fan of that game, then you already know exactly what we’re talking about. If not, well, maybe it’s time to try?
