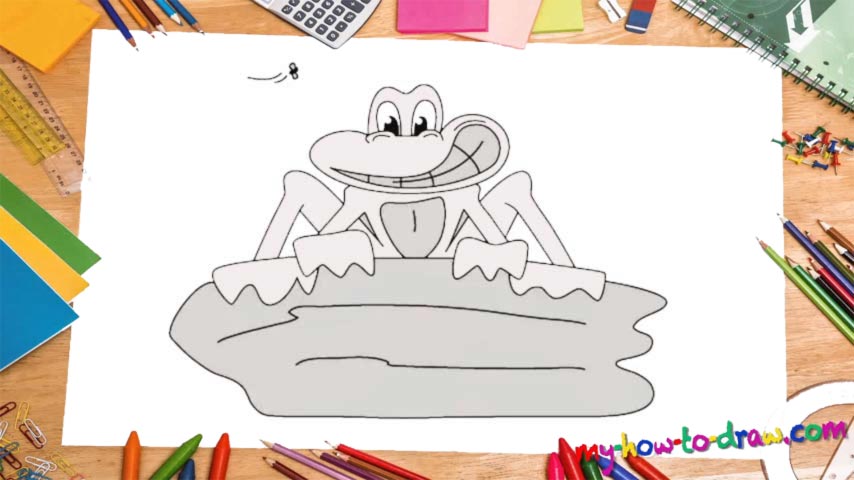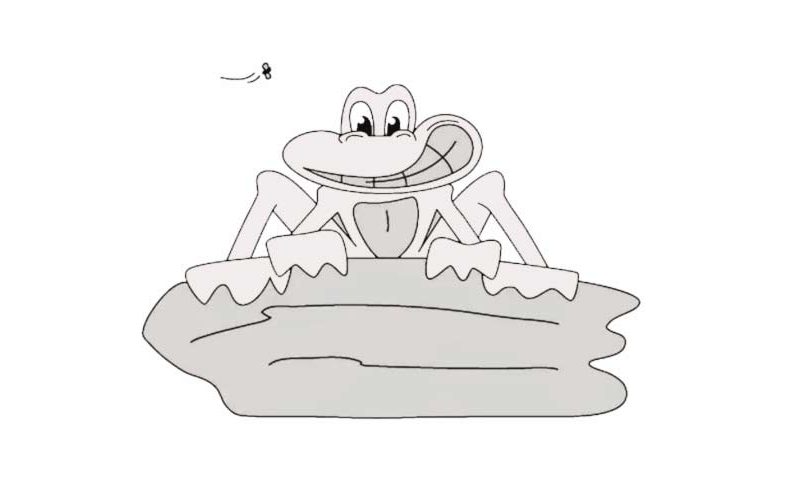
Learn How To Draw A Frog Quickly & Easily
Let’s start with the nose and gradually move on to the mug (00 min 05 sec). You’ll need a curvy line to complete this shape that looks like a flattened heart (00 min 08 sec). The next step in this how to draw a Frog tutorial is the top of the head (00 min 12 sec). Once it’s in place, you should move on and take care of that fancy grin (00 min 16 sec).
Make sure you get the shape right: it looks like a drop of water of some sorts (00 min 16 sec). The nostrils and the eyes follow (00 min 20 sec). The eyes almost take up all the space in the upper half of the head and look identical to each other. Those super-primitive shapes at the bottom of the drawing are the hands and the feet (00 min 25 sec).
They are practically the same, except that the feet are considerably bigger. The legs and the arms are quite skinny. The body has absolutely no details except for that shape in the middle that looks like a bulletproof vest (00 min 52 sec). The eyebrows and the teeth are the next stages in this how to draw a Frog tutorial (01 min 00 sec). Ok, we’re done with our froggy. The last thing to do is to add the huge rock/log that it’s sitting on (01 min 11 sec).
Before you learn how to draw A Frog, did you know?
The frogs are amphibian creatures that love to ‘hang around” in the forests where it’s dark and wet. According to the scientists, they’ve been around for more than 265 million years, which makes them one of the most ancient beings on planet Earth, give or take.
Overall, there are 4.8K species of frogs known to man, and that’s pretty impressive! They come in different shapes, sizes, colors, and behavioral patterns. The humans don’t consider them to be a threat and treat them with love and respect, which is why they’re not afraid to live next to our kind.