Learn How to draw A Duck Quickly & Easily!
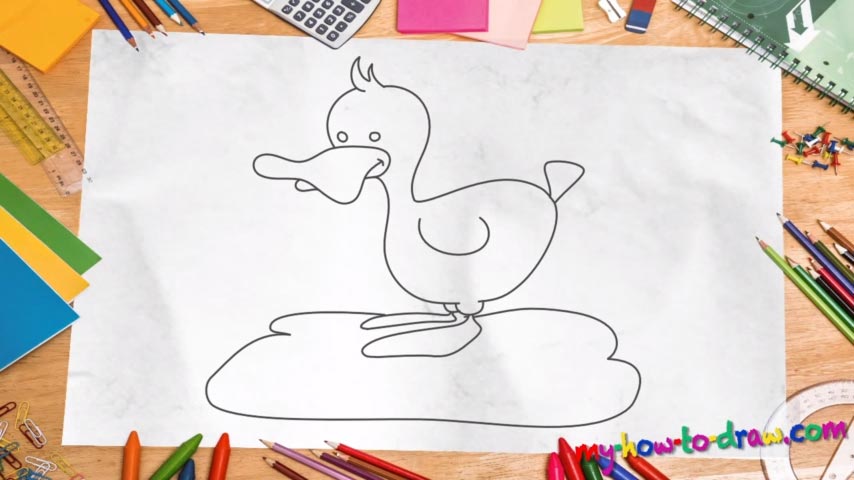
This good-looking duck doesn’t come with tons of detail and won’t require a certain level of “expertise” to pull it off. This tutorial is relatively easy; still, the end result looks awesome! We start this how to draw a Duck manual with the most in-your-face part – the beak (00 min 27 sec). Put that curve that looks like a reversed “S” first and add the rest around it.
Next, use a curvy line for the head and put a strand of hair on top (00 min 53 sec). The eyes are super-small and are located pretty close to the beak. Yes, the proportions are a bit off in this drawing, but that’s exactly what we were going for. So, use a couple of nice and round lines to define the body of the birdy and leave a tiny spot in the middle for the legs (01 min 05 sec). The tail comes next (01 min 15 sec). The wing follows.
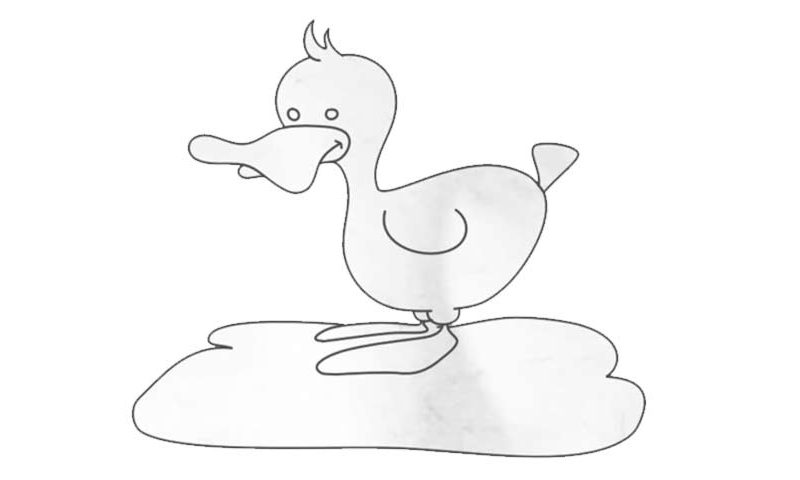
Ok, now we get to the final stage of this how to draw a Duck tutorial – the fins (01 min 23 sec). They are identical, but the right one looks bigger because of the angle. They are the easier step in this video guide. Yet, make sure you keep the proportions right; otherwise, the drawing will lose its momentum. Finally, go ahead and add the foundation. It’s not the most important part, but it will make your duck look better.
Before you learn how to draw A Duck, did you know?
Just like many other birds, ducks are common guests in the most legendary cartoons from our childhood. Donald the Duck, for example, is, without a doubt, one of the most iconic characters from the Golden Age. And he’s not the only one!
There are various species of ducks on planet Earth, and, even though we use the same name to describe them all, there are certain differences that set them apart. Those include size, speed, agility, color combination, lifespan, place of origin, and more.