Learn How To Draw A Dolphin Quickly & Easily
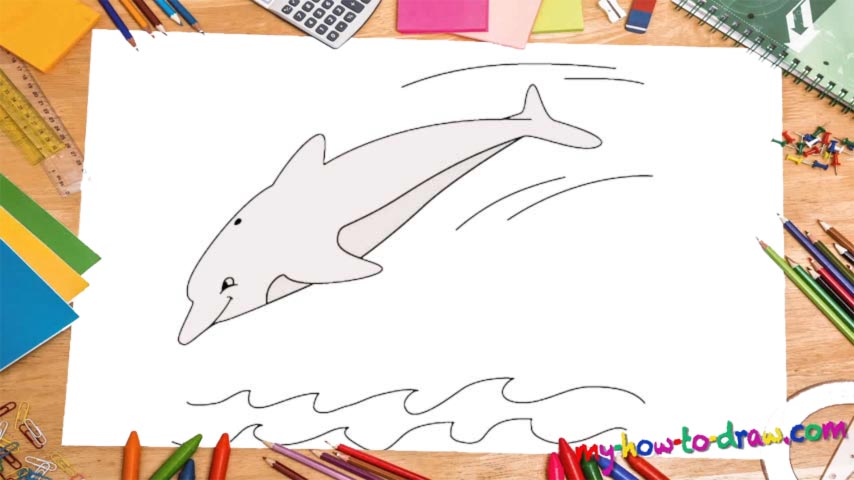
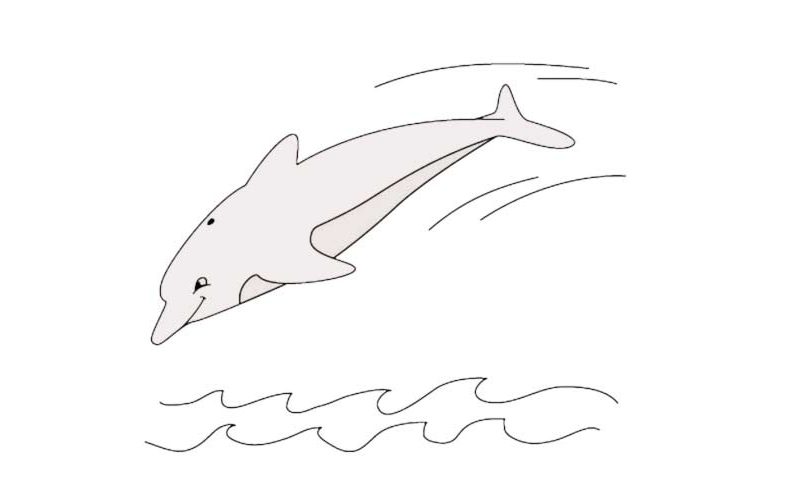
We start with the top of this creature’s head (00 min 05 sec). It looks like an arc and turns into something of a hook at the tip to form the left wing (00 min 08 sec). Once it’s in place, keep moving to the right in a horizontal manner until you reach the tail of this how to draw a Dolphin tutorial (00 min 16 sec). If you look at it from the side, you’ll see that the tail resembles the shuttle from the US Space Program.
Once that’s all in place, use a straight line for the bottom of the body (00 min 21 sec). The right wing is located right below it and is bigger than the other one because of the angle (00 min 26 sec). If everything looks exactly like it should (check back with my video to make sure of that), draw another simple line to complete the outline of this how to draw a Dolphin tutorial (00 min 30 sec).
And now that the basics are in place, it’s time to get to the details. A tiny curve for the mouth; a short and a long line to complete the body; the left eye and a dot at the top of the head for breathing – that’s pretty much it for our dolphin. Looks great, doesn’t it? If you want more details, go ahead and add some waves at the very bottom and some lines to imitate movement in the back of its tail (00 min 52 sec).
Before you learn how to draw A Dolphin, did you know?
We all love dolphins and wouldn’t mind spending some time with them at the aqua parks. They are one of the most intelligent creatures on planet Earth and use a special kind of waves and sounds to communicate with each other on long distances.
Plus, they are quite friendly and love to play with the humans. There are many circles/amusement parks that feature dolphins, and most of them are super-popular. It’s not easy to survive in the water unless you’ve got a mighty brain or strong teeth – the dolphins have a little bit of both!