Learn How to Draw A Dog Running With His Tongue Wagging Quickly & Easily!
This is a classic technique that animators use all around the world. By using light strokes so that it’s possible to erase later, draw a circle in the middle (00 min 17 sec). If you truly want to learn how to draw a dog running with his tongue wagging, this is the way to start.
The second circle should be positioned to the left and a bit lower while overlapping with the first one (00 min 33 sec). The basic lines for the ears come next (00 min 42 sec).
The next step would be to draw two tinier circles at the bottom (the second one should be even smaller) – they will be the foundation of the body. The most important part of our how to draw a dog running with his tongue wagging tutorial are the legs (00 min 57 sec).
Make sure that the front legs are a lot more straight than the rear ones (make them curvier). The eyes come next (01 min 14 sec). The whole process is quite simple.
The nose is probably the cutest part (01 min 52 sec). Make it big and curvy! And don’t forget about the nostrils. Once you’re finished with the tongue and the ears, the face will be pretty much done (02 min 57 sec).
Work on the neck, the feet, and the tail when you’re happy with the dog’s face (03 min 23 sec). If you want the character to be “patchy”, add them wherever you like. Just don’t overdo it :). The final step would be to get rid of the guidelines.
Before you learn how to draw a dog running with his tongue wagging, did you know?
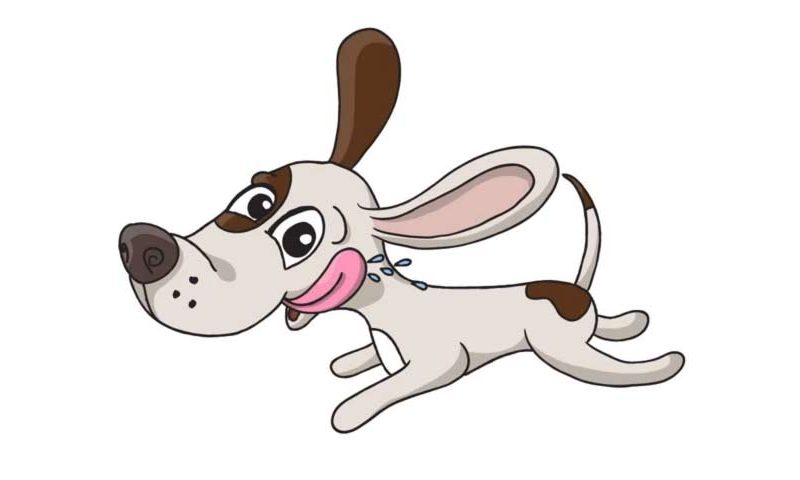
Now, this is one cute puppy! If you’ve always been a fan of these fascinating creatures and want to master the art of drawing them, you’ve come to the right place. This dog sums up what a dog’s life is all about… running, smiling, drooling and having fun all day long!
It’s no secret that I really love dogs and I really enjoyed making this video for you all to enjoy. I really hope you guys & girls have as much fun drawing him as I did. After all, this is what it’s all about: having fun and improving our drawing technique along the way.
