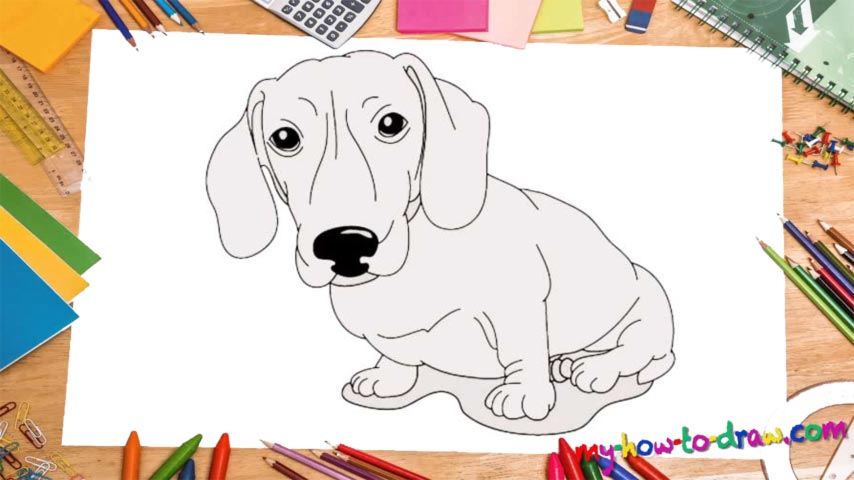
Learn How To Draw A Daschund Quickly & Easily
As always, the big, black nose (that looks like an anchor, by the way) comes first (00 min 04 sec). Before you move on to the eyes, the next step in this how to draw a Daschund tutorial, add two curves and two straight lines right between them. The eyes are pretty small but look quite realistic thanks to the pupils and the curves above and below (00 min 12 sec).
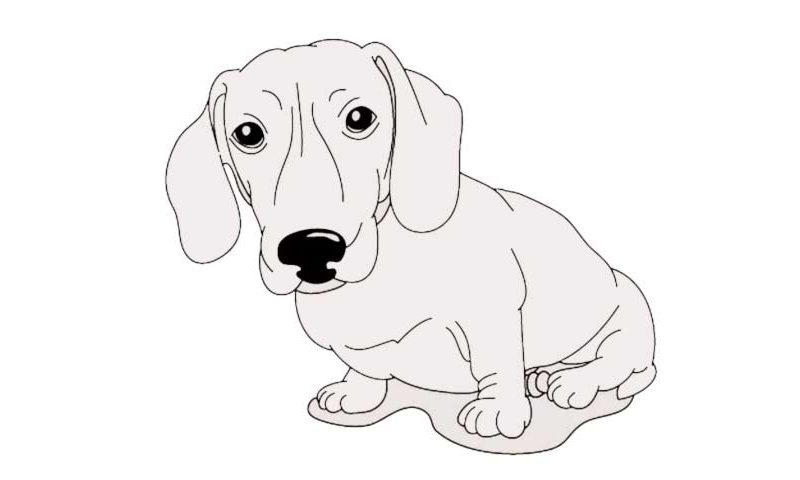
And once you create that line at the top for the head, you’ll have some perspective for the rest of the facial features (00 min 16 sec). The ears come next (00 min 23 sec). They should be nice and big and almost reach the bottom of the mug. If everything’s looking fine and you’re ready to say goodbye to the head, get to the next part of the how to draw a Daschund tutorial, which is, of course, the dog’s body (00 min 30 sec).
It’s the easiest part, and you’ll spend a lot less time on it than on the head. First of all, it’s pretty tiny and won’t take much to complete. Second, all the shapes and lines are simple. The balance needs to be right, though, and make sure the legs are all properly “seated” (00 min 40 sec). You’ve got four fingers on each paw, with the front right leg being in front of the composition (01 min 02 sec).
Before you learn how to draw A Daschund, did you know?
There are numerous dog breeds out there, and Daschund is definitely a stand-out “cut”. They look like hounds and have super-short legs and unrealistically long bodies. However, thanks to a flexible and agile body, these puppies are great hunters, among other things.
Initially, the humans developed the Daschund to track down a number of the so-called “burrow-dwelling” animals, including the elusive badgers. They can catch a scent and hunt these brutes from miles away, which makes them invaluable hunting buddies.