Learn How To Draw A Daisy Quickly & Easily
We’ve got quite a few “flower guides” on our website, and this is one of the finest ones to date. See that grass at the very bottom of this drawing? We’re not going to focus on it in this how to draw a Daisy tutorial, but if you want to truly master it, there’s a separate video about it. Make sure to check that one out when you get the chance, dear friends! As for our Daisy, it’s quite easy.
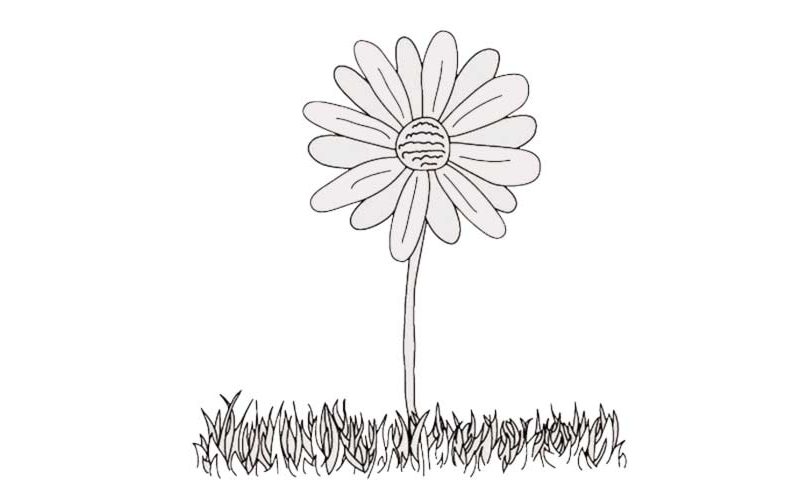
Start with the circle in the middle of the composition (00 min 05 sec). The petals are the next step (00 min 08 sec). First of all, draw four of those. Next, add another four to complete the main part. Once those are in place, fill all the “empty blanks” between the petals to complete this stage of the how to draw a Daisy tutorial (00 min 16 sec). Looks pretty beautiful, doesn’t it?
The stem follows (00 min 20 sec). It’s long and slim – nothing special about it. But we’re not done yet. You’ll need to add a series of straight lines on the first wave of the petals and tiny zigzags inside of that original circle to make this drawing look more realistic (00 min 28 sec). The grass is the final step (00 min 35 sec). We already talked about it in the beginning; so, make sure you see everything through!
Before you learn how to draw A Daisy, did you know?
As one of the most popular flowers out there, the daisy has a strong presence in our daily lives. The sunflower family consists of almost 33 thousand (!) species, which is pretty impressive. A daisy can bring a smile to your girlfriend’s face and light up an interior.
And, even though we, the regular men and women, can’t really see the difference between the various species, they are, indeed, different. For example, if you’re allergic to a certain kind, that doesn’t mean that every single flower out there is bad for you!
